How to Create a BeatViz Editor Project and Upload Your Song
Every BeatViz Editor music video begins with a song. Before generating your first shot, create a project and choose the output settings that will guide your work. Classic and Chat use the same project setup and share its media library and timeline.
Step 1: Open BeatViz Editor
Go to Classic Editor to control the image and video generators directly, or Chat Editor to describe shots through a conversation. Both routes lead to the Editor project creation flow.
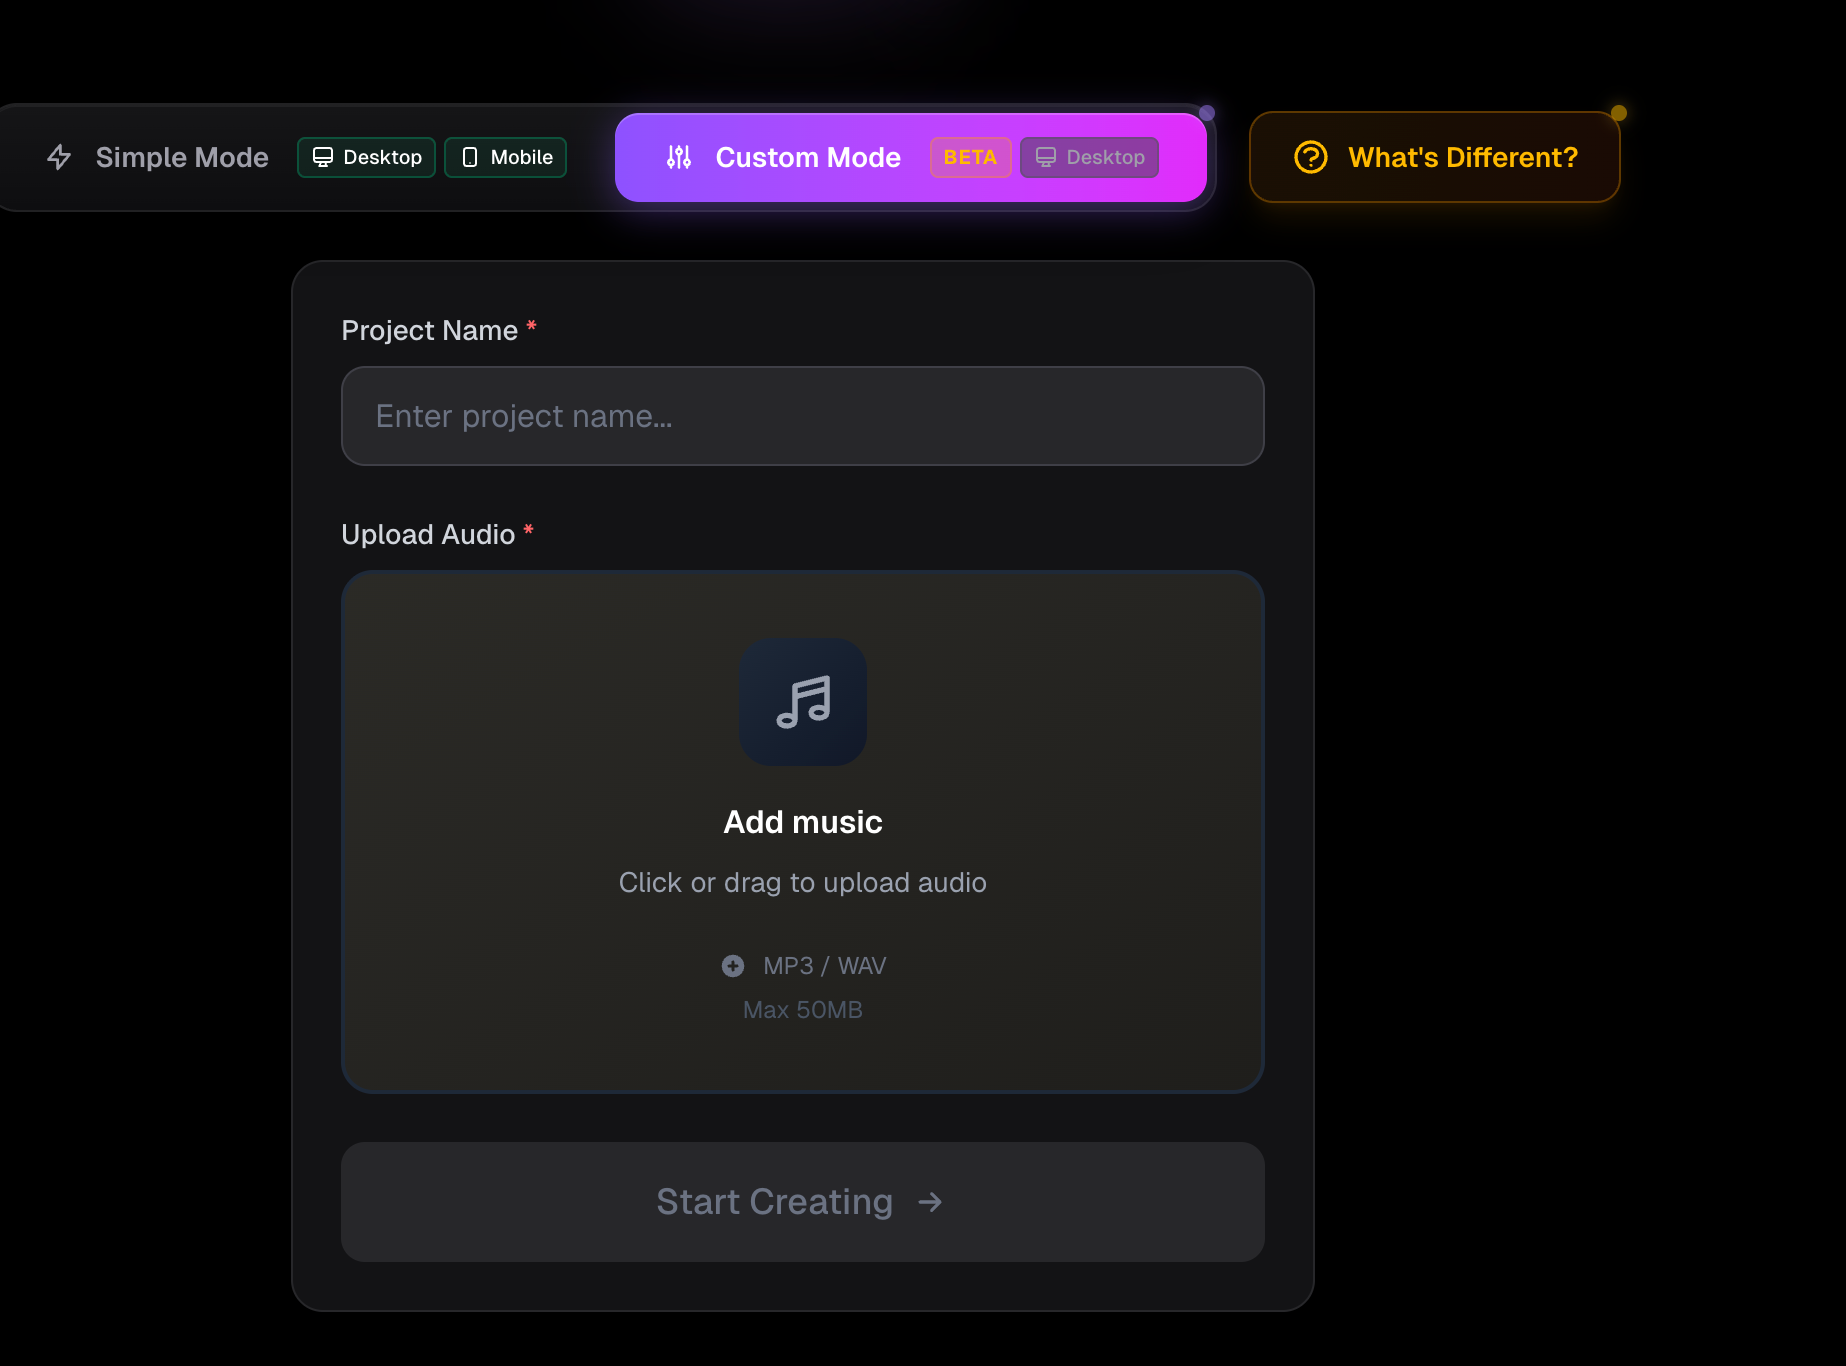
Step 2: Enter a project name and upload your audio
Enter a recognizable project name and upload one audio file from your device. Editor accepts MP3, AAC, M4A, FLAC, and WAV, with a maximum file size of 200 MB. The project creation form does not accept pasted Suno, Spotify, or YouTube links; download or export a supported audio file first.
Step 3: Choose the finished video's resolution
Select 1080p or 720p. The default is 1080p. This is the resolution used when the project is exported as a finished video. It is not a setting that forces every image or generated video clip to use the same resolution; generation models have their own options.
Step 4: Select landscape or portrait
Choose 16:9 for a landscape project or 9:16 for a vertical project. The default is 16:9. Your choice is saved with the project and cannot be changed later in the generator.
Important: Chat uses this project aspect ratio for every image and video it generates. Classic image generation offers additional independent image aspect ratios. See Generate AI Images for details.
Step 5: Add a character reference (optional)
If you want to guide a recurring character's appearance, upload a character image during setup. BeatViz removes its background and automatically places it in the first reference-image slot when you create images. You can remove that reference later, but after removing it, Editor no longer adds it automatically to that project in either Classic or Chat. The character reference is not automatically attached to video generation.
For a consistent look, choose a clear image of the character you intend to feature. You can still add or select reference images when generating shots.
Step 6: Click Start Creating
Select Start Creating. If you have not signed in, BeatViz asks you to sign in first. After returning to the form, your inputs are restored, but you must click Start Creating again to create the project.
What happens next?
Your song becomes the audio foundation of the video timeline. You can plan shots with Storyboard and Prompts, create visual assets in Classic, or switch to Chat. Both workflows operate on this same project.
FAQs
Can I change the final aspect ratio after creating the project?
Not in the project generator. Choose 16:9 or 9:16 carefully at setup.
Do I need to upload a character image?
No. It is optional. If you upload one, it can serve as the automatically selected image-generation reference.
Does selecting 1080p make every AI-generated clip 1080p?
No. The project setting applies to the final export; individual generation options depend on the selected model.
Next: Understand Classic and Chat · Start for free
Related guides
Try BeatViz Editor
Open a project with your song. Classic and Chat share the same images, videos, and timeline.