How to Export Your BeatViz Music Video as an MP4
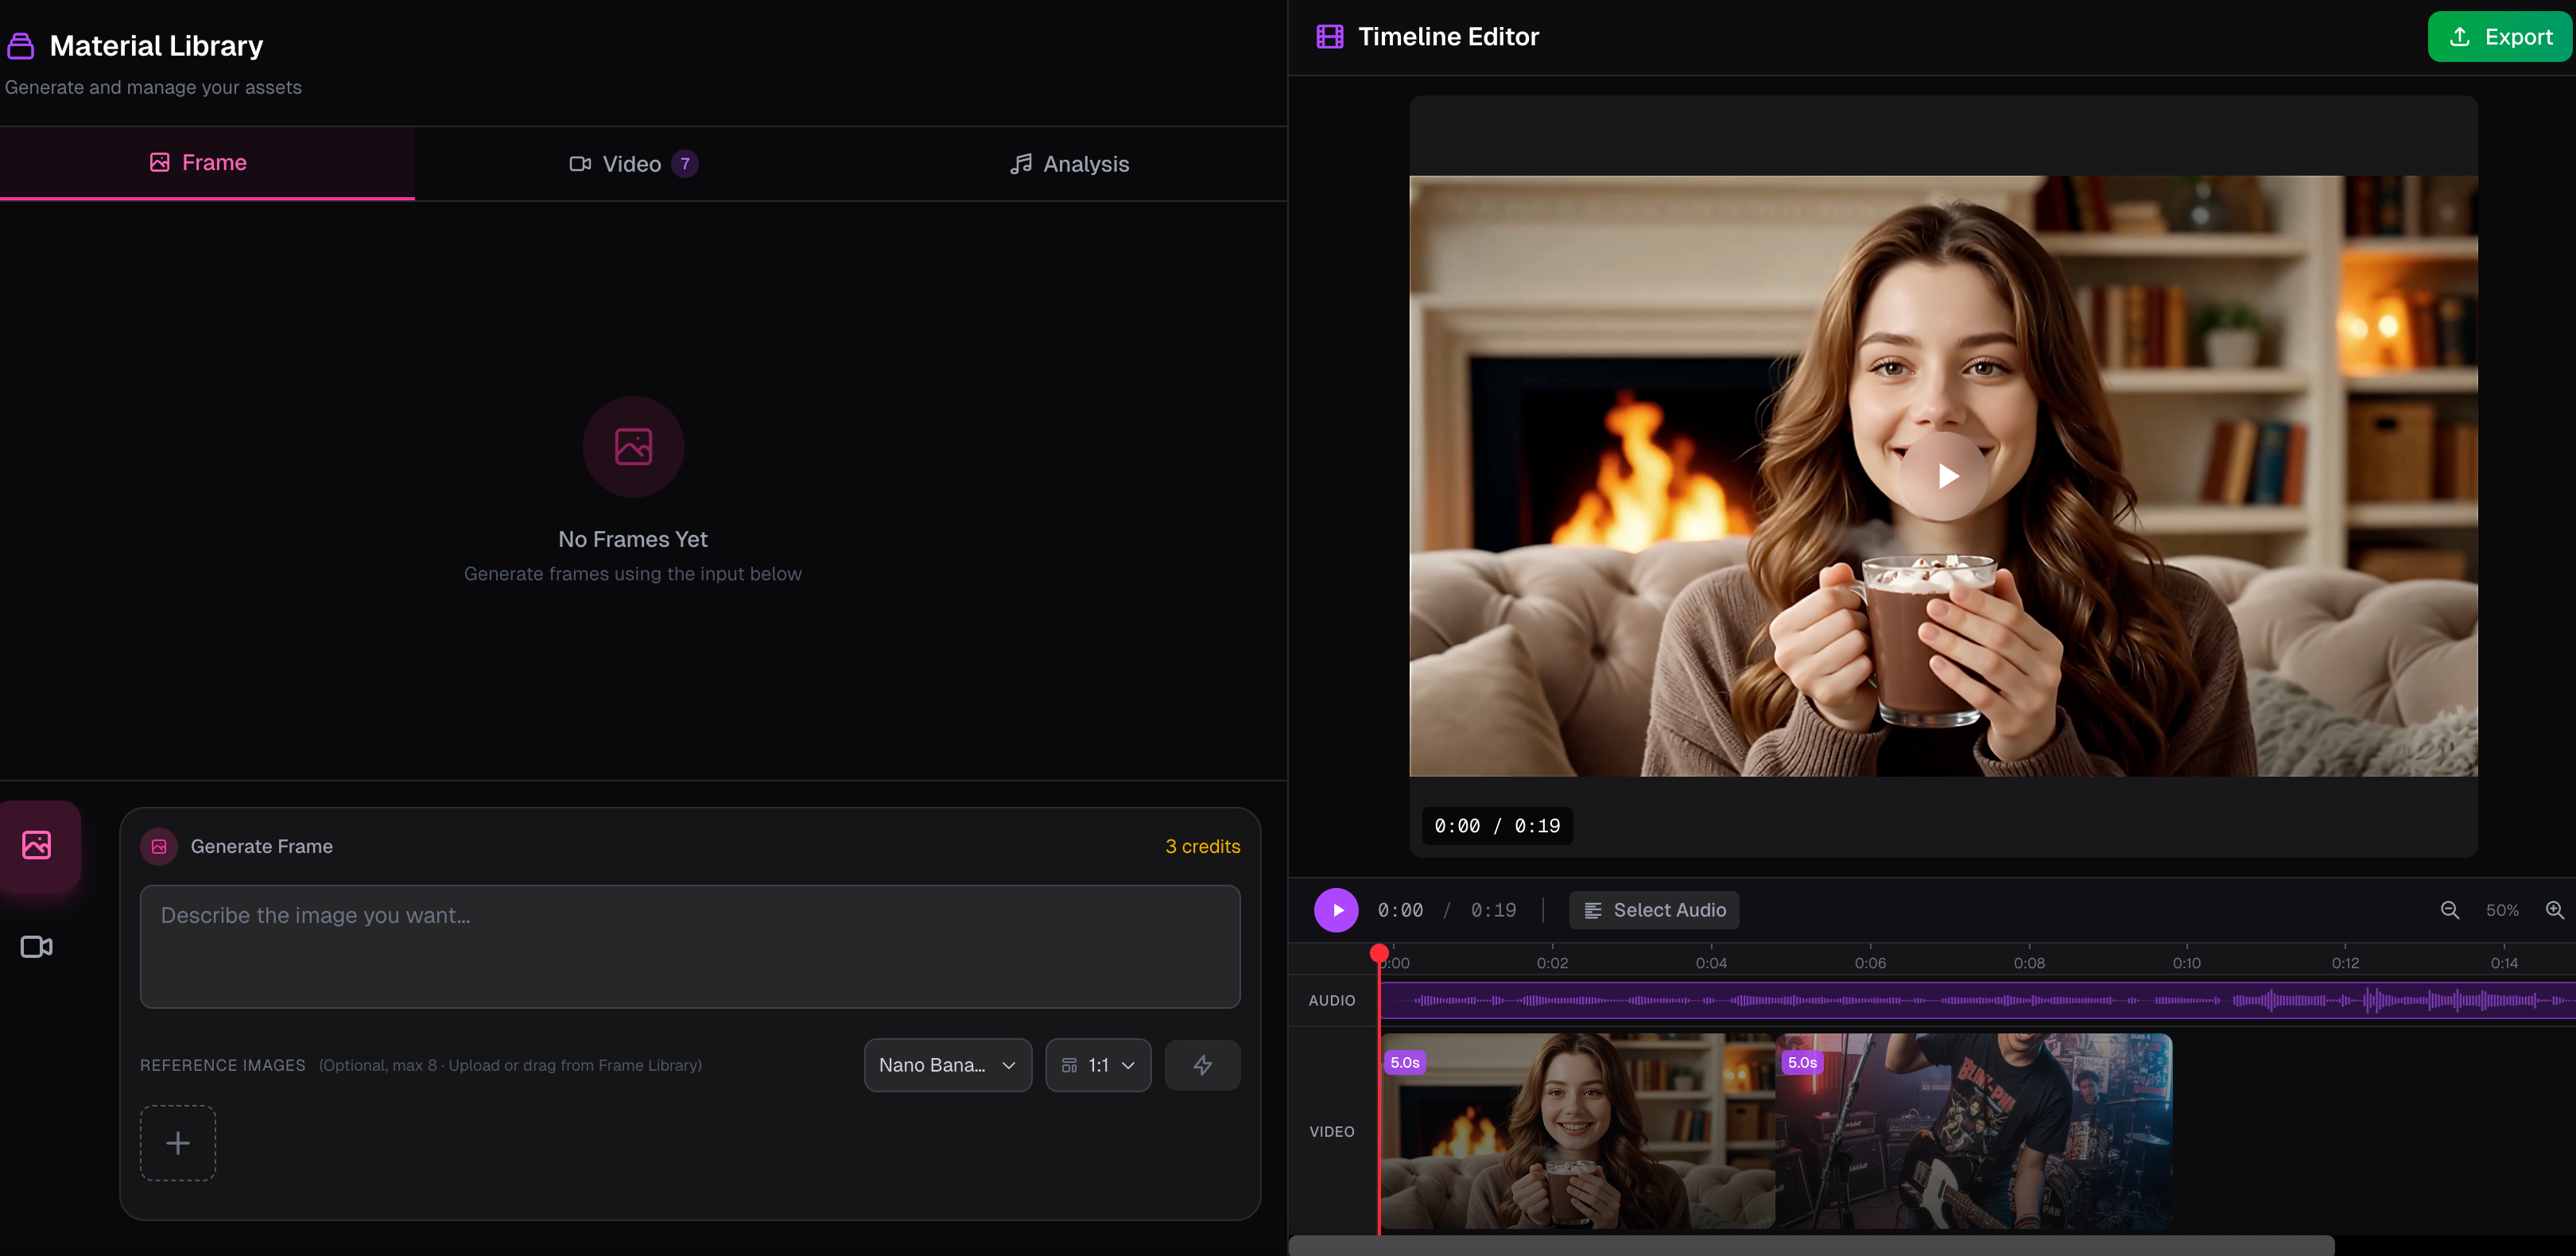
After you generate and arrange your shots in BeatViz Editor, you can export the timeline as a single MP4 combined with the song you uploaded when creating the project. You can do this from the Editor top bar.
Step 1: Add at least one video to the timeline
The Export control is unavailable when your timeline has no video clips. Start by generating a clip and adding it to the video track. You can assemble and trim multiple clips before exporting; they play as one continuous sequence without empty video-track gaps.
Need help? See How to Edit the Video Timeline.
Step 2: Review the finished sequence
Play the project and inspect the order and duration of the clips. Check that the visual sequence covers the portion of your song you intend to show, and make any needed trims or replacements before export.
If you used LipSync, preview the synchronized mouth movements carefully. LipSync clips may play their own embedded audio during preview to keep lips and sound aligned, but the exported music video's audio rules are different.
Step 3: Choose Export in the top bar
Select Export from the top bar. BeatViz sends the timeline clips and their editing information for assembly and combines them with your project's original song to create an MP4.
Export uses the final resolution and aspect ratio selected at project creation: 720p or 1080p, and 16:9 or 9:16. These are project export settings, not a guarantee that each underlying AI generation used that resolution.
Important: which audio is included in the exported video?
The finished MP4 uses the original uploaded song as its audio track. Even if a lip-synced video contains audio and plays that audio inside the Editor preview, the export process does not splice the lip-synced clip's own audio into the finished soundtrack.
This makes the project song the reference soundtrack for the final edit. Review the exported file to ensure the visual timing and mouth movements match that original audio.
Step 4: Review the finished MP4
Once export is complete, play the file and check the image sequence, chosen orientation, resolution, and audio. If a clip does not look right, return to the timeline to adjust or regenerate footage before exporting again.
FAQs
Why is Export disabled?
The video timeline has no video clip yet. Add a completed video to enable export.
Does the final MP4 use the sound in my LipSync clip?
No. It uses the original song uploaded to the project. The Editor preview can sound different when playing an individual lip-synced clip.
Can I choose a different aspect ratio at export?
The current workflow uses the resolution and aspect ratio saved when the project was created. Check those settings when starting a new project.
Next: Review your timeline · Understand LipSync audio · Create another video
Related guides
Try BeatViz Editor
Open a project with your song. Classic and Chat share the same images, videos, and timeline.