How to Turn a Mureka AI Song Into a Music Video (MP3 to Full MV)
Your Mureka song is finished. The vocals sound right, the chorus hits exactly where you want it, and you've finally settled on the version worth sharing.
Now comes the next question: How do you turn that AI-generated song into a music video people actually want to watch?
You don't need to start over or recreate the music in another tool. You can export your finished Mureka track as an audio file, upload it to an AI music video generator, and build visuals around the original song.
Mureka already offers its own AI music video features. But if you're planning a longer music video with recurring characters, multiple locations, cinematic storytelling, and more control over individual scenes, you may want a dedicated video production workflow.
In this guide, we'll show you how to go from Mureka MP3 to a full music video using BeatViz, including music analysis, storyboarding, character references, lip-sync, scene editing, and final export.
The basic process is:
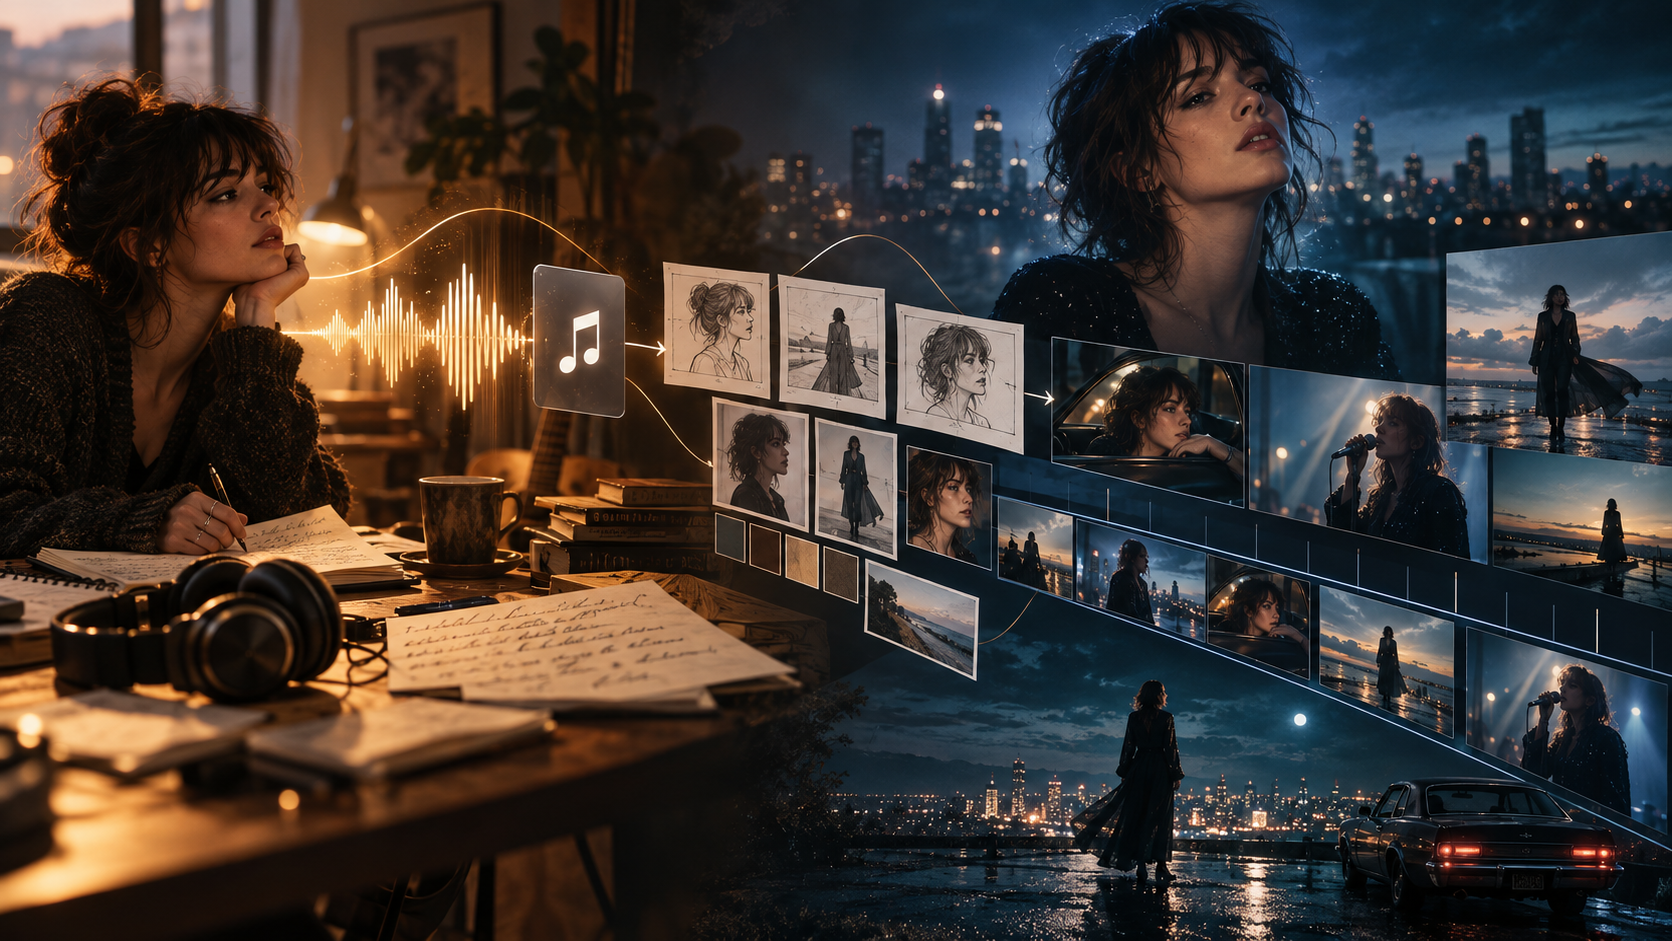
Create your song in Mureka → Download the MP3 → Upload to BeatViz → Plan your visuals → Generate scenes → Refine clips → Export your full MV.
Can Mureka AI Turn a Song Into a Music Video?
Yes. Mureka is no longer limited to AI music generation.
Alongside its songwriting, vocal generation, and music editing tools, Mureka offers a built-in Create Music Video feature.
According to Mureka's official feature documentation, its video tools can:
- •Generate visual shots based on a song's lyrics and mood.
- •Create AI-generated performances with character lip-sync.
- •Let users review and adjust individual storyboard images before video generation.
- •Produce music videos in different aspect ratios.
- •Create template-based lyric videos.
That's useful if you want to create a visual companion to a song without leaving Mureka.
However, there is an important distinction between generating a short music video and producing a complete three- or four-minute MV.
What About Full-Length Mureka Music Videos?
At the time of writing, Mureka's published documentation describes a 10–90-second audio limit for its AI-generated Music Video feature.
It also states that the video workflow does not currently provide manual timeline editing, although individual storyboard images can be regenerated before the final video is created.
Its Lyrics Video feature is different: it supports full-song duration using customizable lyric templates.
So, if you want a short promotional video or an AI singing performance, Mureka's built-in options may already meet your needs.
But what if your song is three minutes long?
What if you want the same singer to appear in different locations, switch between performance scenes and storytelling, and adjust the timing of individual clips?
That's where a dedicated song-to-video production platform becomes useful.
With the BeatViz AI Music Video Generator, you can upload a finished track and develop a multi-scene music video around its structure, while retaining opportunities to review and refine the visuals.
Already have a finished Mureka track?
Explore how BeatViz turns uploaded music into a storyboard, cinematic scenes, and an editable music video.
How to Export Your Mureka AI Song as an MP3
Before creating the video, you'll need the audio version of your Mureka song.
The key is to work with the final song, not an earlier draft that may have a different intro, chorus, or ending.
Step 1: Finish and Download Your Song in Mureka
Open Mureka and locate your completed song in your library or song results.
Listen to the entire track before downloading it.
Pay attention to:
- •Unwanted silence at the beginning or end.
- •Lyrics that may need correction.
- •Abrupt transitions between sections.
- •The exact point where the chorus begins.
- •Whether the final mix is the version you want to release.
Once you're satisfied, use the song's download option and select an audio format available to your account.
MP3 is a practical choice for most music-to-video workflows. If WAV is available and you prefer a higher-quality source file, you can use that instead.
Download availability and formats may depend on Mureka's current plan and account settings.

Step 2: Prepare Your Music Video Assets
The audio file is the only essential starting point, but a few additional materials can make the process easier.
Save your lyrics separately, especially if the song tells a story or includes specific lines you want represented visually.
If you already have an AI singer image, album cover, or artist character, keep that available too.
You may want to prepare:
- •Your final Mureka audio file.
- •The full lyrics or a short description of the song's meaning.
- •One or more character reference images.
- •A simple idea for the video style.
- •Your intended publishing format.
For example, imagine you've generated a three-minute indie-pop song about two people who keep meeting in the same city but never at the right time.
You could describe the visual direction like this:
A nostalgic cinematic music video about two people living parallel lives in a rainy city. The female singer performs alone in a small vintage theater, while the story follows missed encounters at train stations, cafes, and quiet nighttime streets.
That single idea provides enough direction to begin planning scenes.
You don't need to write every camera movement before uploading the music.
How to Turn a Mureka Song Into a Music Video With BeatViz
Now that your Mureka audio is ready, let's turn it into a complete music video.
We'll use BeatViz Workflow 2.0, which organizes the production into stages rather than asking you to generate an entire video from one prompt.
Step 1: Upload Your Mureka MP3 to BeatViz
Open BeatViz Workflow and select Studio Create 2.0.
Start a new project and upload the MP3 or other supported audio file exported from Mureka.
You can then provide the creative direction for your video.
For example:
Create a cinematic music video for this melancholic indie-pop song. Follow a female protagonist through a rainy city at night, combining intimate singing performances with a story about missed connections. Use realistic lighting, restrained emotion, natural camera movement, and recurring visual motifs.
This gives the AI more useful information than a generic instruction such as "make a beautiful music video."
The music itself will remain the foundation of the project.
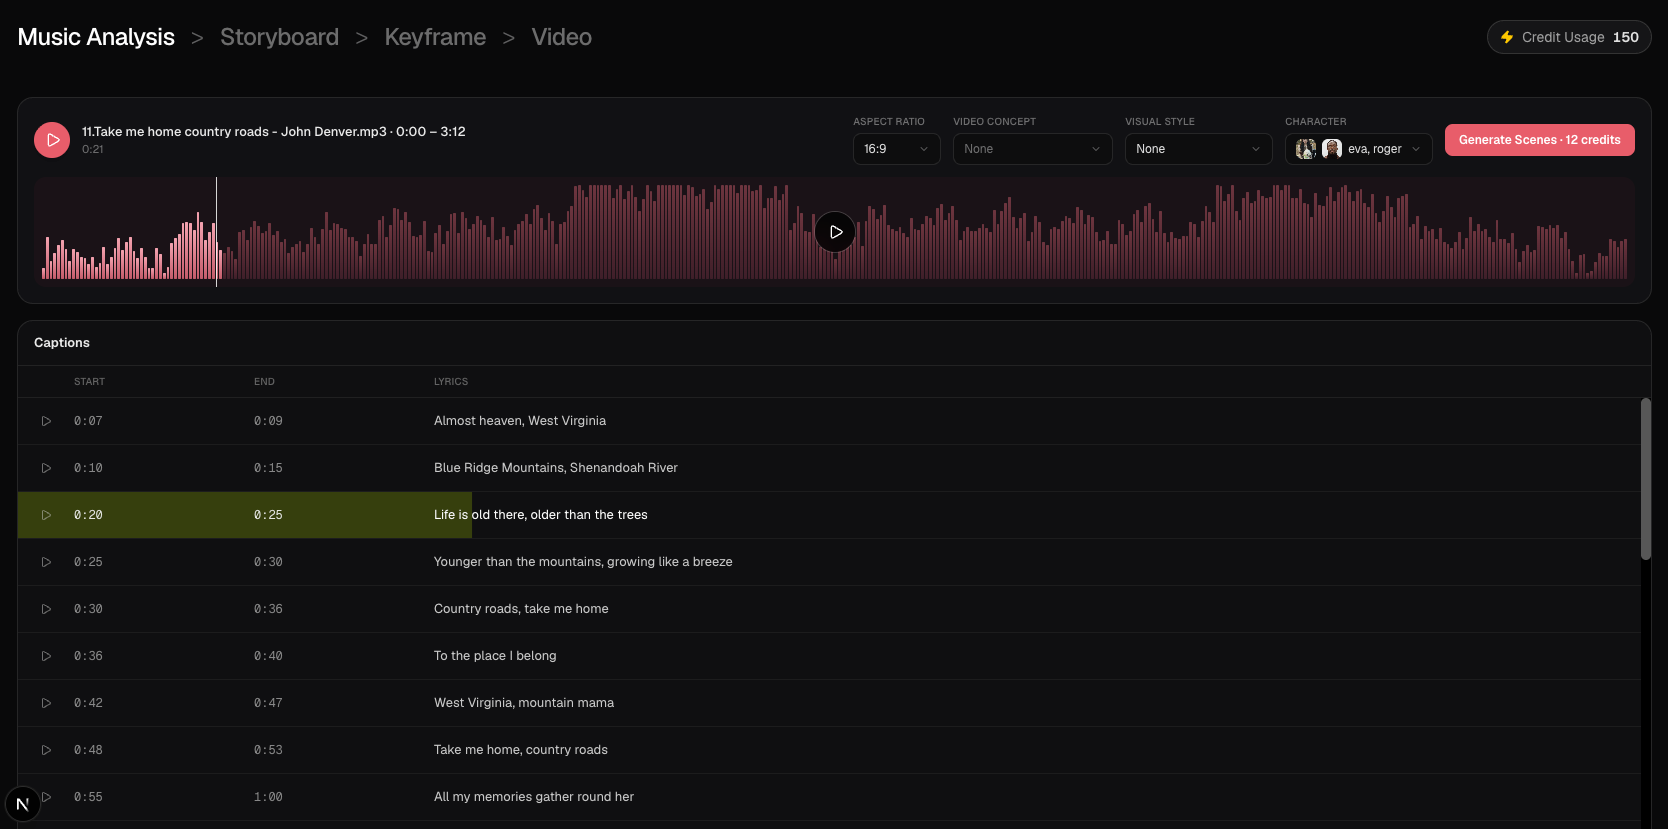
Step 2: Let BeatViz Analyze the Music
Before generating scenes, BeatViz analyzes the uploaded audio and helps organize the creative direction around the song.
For a Mureka AI song, this is especially helpful because the final recording may contain several distinct musical sections.
Consider a song that begins quietly, grows into an energetic chorus, returns to a softer verse, and builds toward a final climax.
Those changes should influence the video.
A quiet introduction might use a long establishing shot.
A first verse could introduce the main character.
The chorus might shift into a dramatic performance scene with more movement and stronger lighting.
An instrumental section could show the story developing without anyone singing.
The goal isn't to cut randomly every few seconds. It's to make the visuals respond to the song's changing emotional and musical structure.
Step 3: Choose a Visual Concept for Your Mureka Song
Once the music has been analyzed, review the creative concepts.
This is where you decide what kind of video the song should become.
A Mureka-generated track can support very different visual treatments depending on the genre.
For example:
| Music Style | Possible Video Direction |
|---|---|
| Emotional pop | Intimate performances, cinematic storytelling, soft natural lighting |
| Rock | Live-band energy, rehearsal spaces, dramatic camera movement |
| R&B | Nighttime city scenes, fashion-film aesthetics, expressive close-ups |
| Electronic / EDM | Surreal environments, abstract motion, visual energy changes |
| Folk / Acoustic | Natural landscapes, documentary-style shots, understated emotion |
Try to establish one central visual identity rather than filling the video with unrelated ideas.
If the concept involves a recurring singer, introduce a character reference image early.
A clear face, recognizable hairstyle, consistent clothing, and a simple reference background can help maintain a more stable character appearance across different scenes.
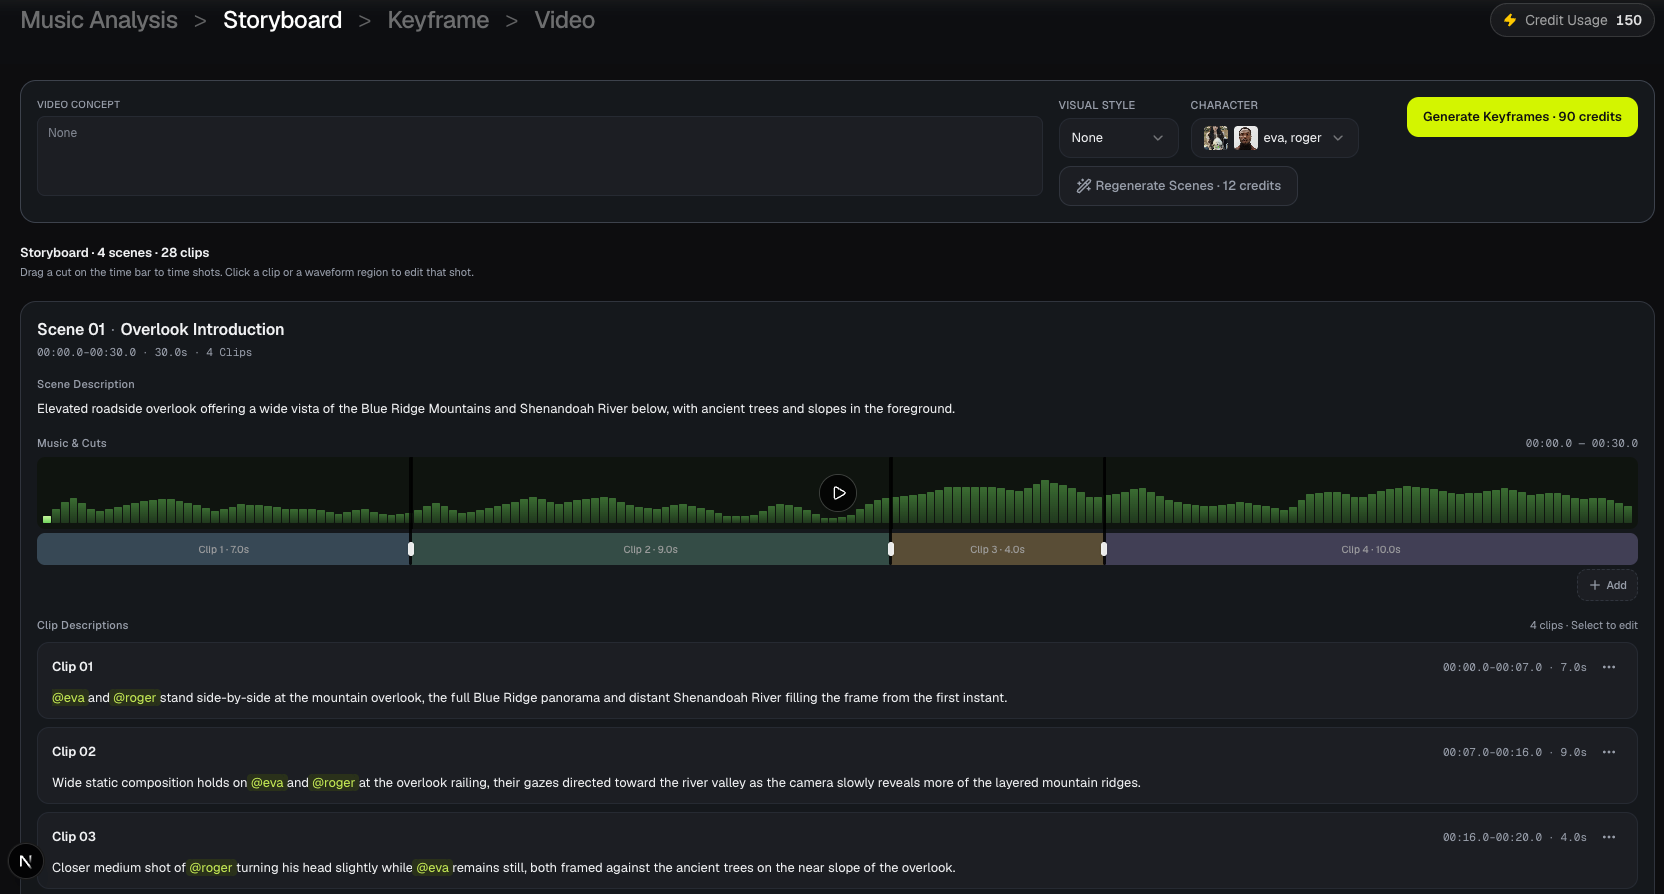
Step 4: Review the Storyboard Before Generating Video
This is one of the most important stages.
After the creative direction is established, BeatViz helps develop a storyboard describing what should happen throughout the song.
Instead of immediately spending credits on finished video clips, you can inspect the planned visual sequence first.
Look for questions such as:
- •Does the first scene introduce the right atmosphere?
- •Does the chorus have a stronger visual moment?
- •Are the characters appearing in the intended scenes?
- •Do the actions match important lyrics?
- •Are there enough changes in camera angle and shot size?
- •Does the ending feel connected to the beginning?
Imagine the chorus includes the line:
I keep finding you in places we've never been.
A literal storyboard might show someone searching through different places.
A more cinematic interpretation could show the protagonist recognizing the same silhouette in a train window, across a crowded street, and in the reflection of a closing elevator door.
Both approaches are valid, but they tell the story differently.
The storyboard gives you a chance to make that creative decision before generating the final video.
If a shot feels wrong, revise its description or regenerate the relevant planning material.
Step 5: Generate Keyframes and Video Clips
Once the storyboard feels right, continue to the keyframe stage.
A keyframe establishes the visual appearance of a shot before the movement is generated.
For a music video, this matters because the first image can determine the character's appearance, framing, environment, and overall composition.
For instance, you might create:
- •A wide shot of the protagonist standing alone on an empty subway platform.
- •A close-up of the singer performing under warm theater lights.
- •A medium shot of two characters passing each other in the rain.
Review the images before moving on to video generation.
Pay special attention to faces, clothing, proportions, backgrounds, and whether the shots actually match the storyboard.
When you're satisfied, generate the video clips and inspect their movement.
A good still image doesn't always guarantee a good moving shot.
Check the camera direction, body movement, facial expression, and whether the clip fits the intended moment in the music.
If something doesn't work, refine that specific shot instead of immediately rebuilding everything.
Ready to turn your Mureka MP3 into actual scenes?
Open BeatViz Workflow 2.0 and build your music video from the song analysis and storyboard stages.
Three Ways to Direct Your Mureka Music Video in BeatViz
Not every creator wants the same amount of control.
Some musicians want the AI to handle most of the planning. Others have a detailed vision for every scene.
BeatViz offers three approaches.
1. Workflow 2.0: Best for Guided Full-Song Creation
Choose Workflow when you want a structured production process.
It helps you move from music analysis to visual concepts, storyboarding, keyframes, generated clips, and a completed video.
This is a practical starting point if you've finished a Mureka song but don't yet know how to turn it into dozens of coordinated shots.
2. AI Director: Best for Directing Through Conversation
If you prefer describing ideas in natural language, try the BeatViz AI Director.
You can explain the style or story you want and guide the AI through the creative process.
For example:
Make the first verse feel quiet and lonely. When the chorus begins, transition into a larger performance scene with dramatic backlighting. Keep the singer's appearance consistent, and reserve lip-sync for the actual singing shots.
This approach works well when you can describe the finished video creatively but don't want to plan every shot manually.
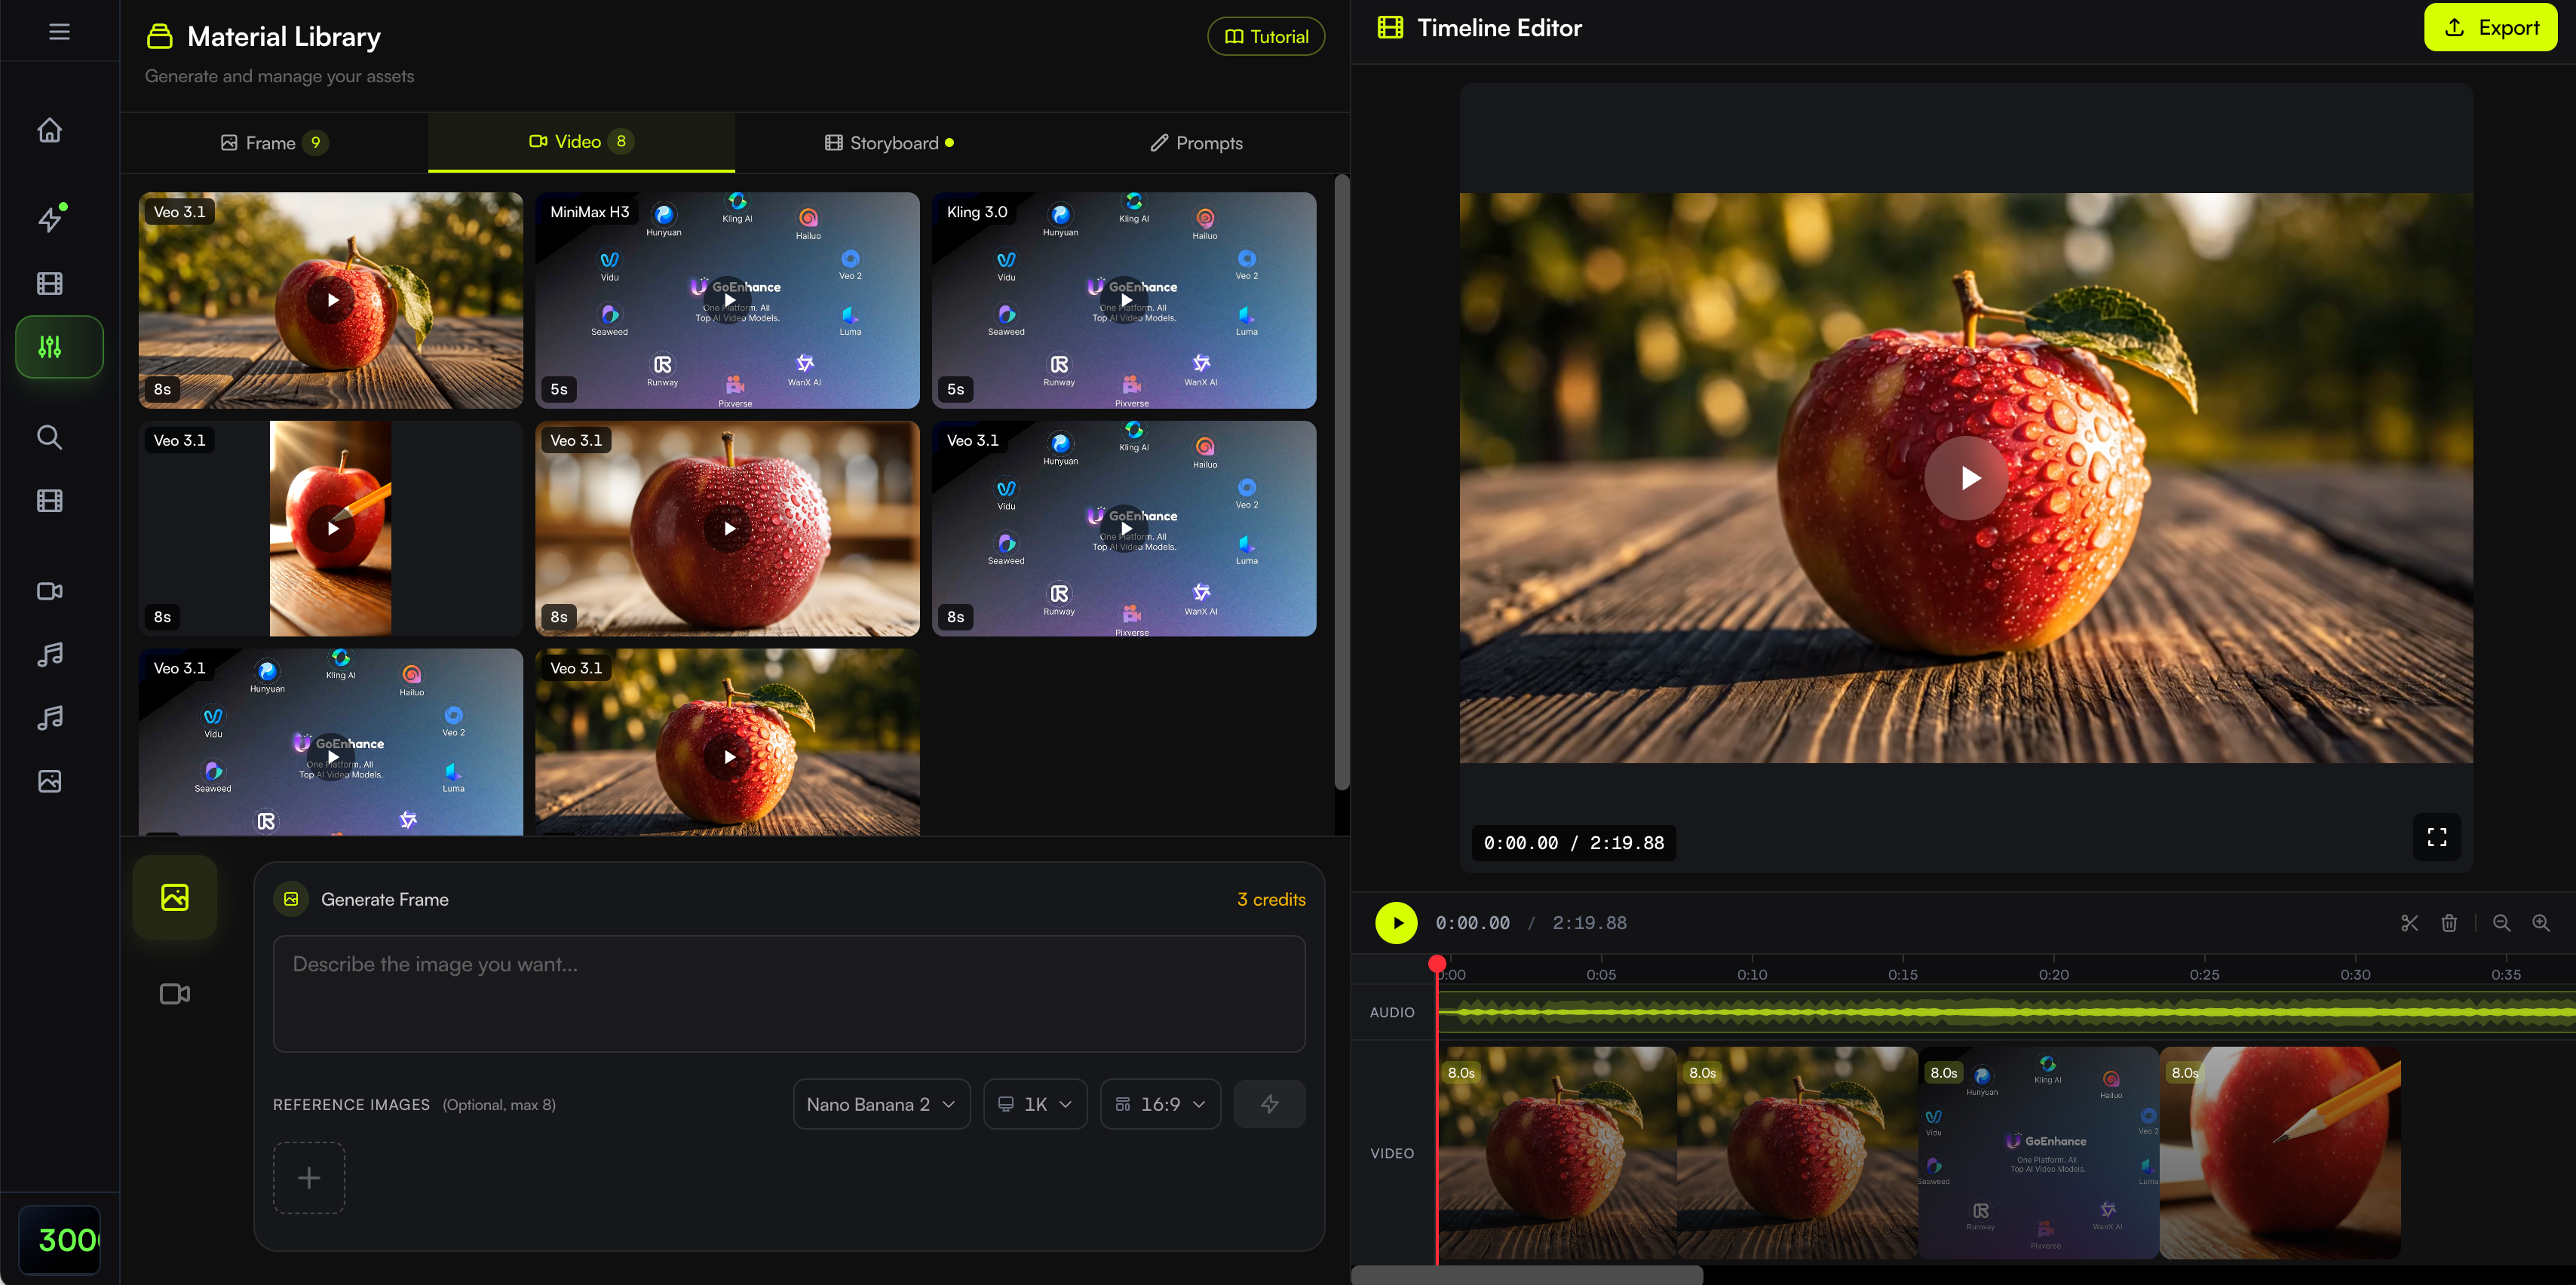
3. Editor: Best for Detailed Scene and Timeline Control
For creators who want to manage individual visual assets and clip timing, use the BeatViz Editor.
The Editor provides a timeline-based workspace where you can generate images and video clips, arrange them alongside your soundtrack, refine selected scenes, and export the assembled video.
You can choose which reference images to use for individual clips and organize the final sequence yourself.
This is particularly useful when your Mureka track contains precise vocal entrances, instrumental breaks, or cinematic moments that require closer control.
Which should you choose?
Start with Workflow if you need a complete creative plan. Try AI Director if you prefer conversational direction. Choose Editor if you want hands-on control over the final sequence.
You can explore the current generation options and credit allowances on the BeatViz pricing page before committing to a longer project.
How to Make a Full-Length Mureka Music Video Feel Consistent
Generating scenes is only part of the challenge.
A full music video needs to feel like one connected production rather than a series of unrelated AI clips.
Here are the areas worth paying the most attention to.
Build the Story Around the Entire Song
Imagine your Mureka song is three minutes long.
Instead of giving every section the same visual treatment, assign a purpose to each part of the arrangement.
Here's an example:
| Song Section | Approximate Timing | Visual Direction |
|---|---|---|
| Intro | 0:00–0:20 | Establish the rainy city and introduce the central visual motif |
| Verse 1 | 0:20–0:50 | Follow the protagonist through a quiet street |
| Pre-chorus | 0:50–1:15 | Build emotional tension through close-ups and reflections |
| Chorus | 1:15–1:45 | Switch to a dramatic singer performance |
| Verse 2 | 1:45–2:15 | Develop the story with new locations and interactions |
| Final chorus | 2:15–2:45 | Return to the performance with greater visual intensity |
| Outro | 2:45–3:00 | Resolve the story with a quiet final image |
These timings are illustrative. The actual structure should follow your own song.
The important principle is that every section contributes something to the whole video.
If the chorus repeats, you don't necessarily need to repeat exactly the same footage. You can return to the same environment with different camera angles, more emotional intensity, or a new narrative development.
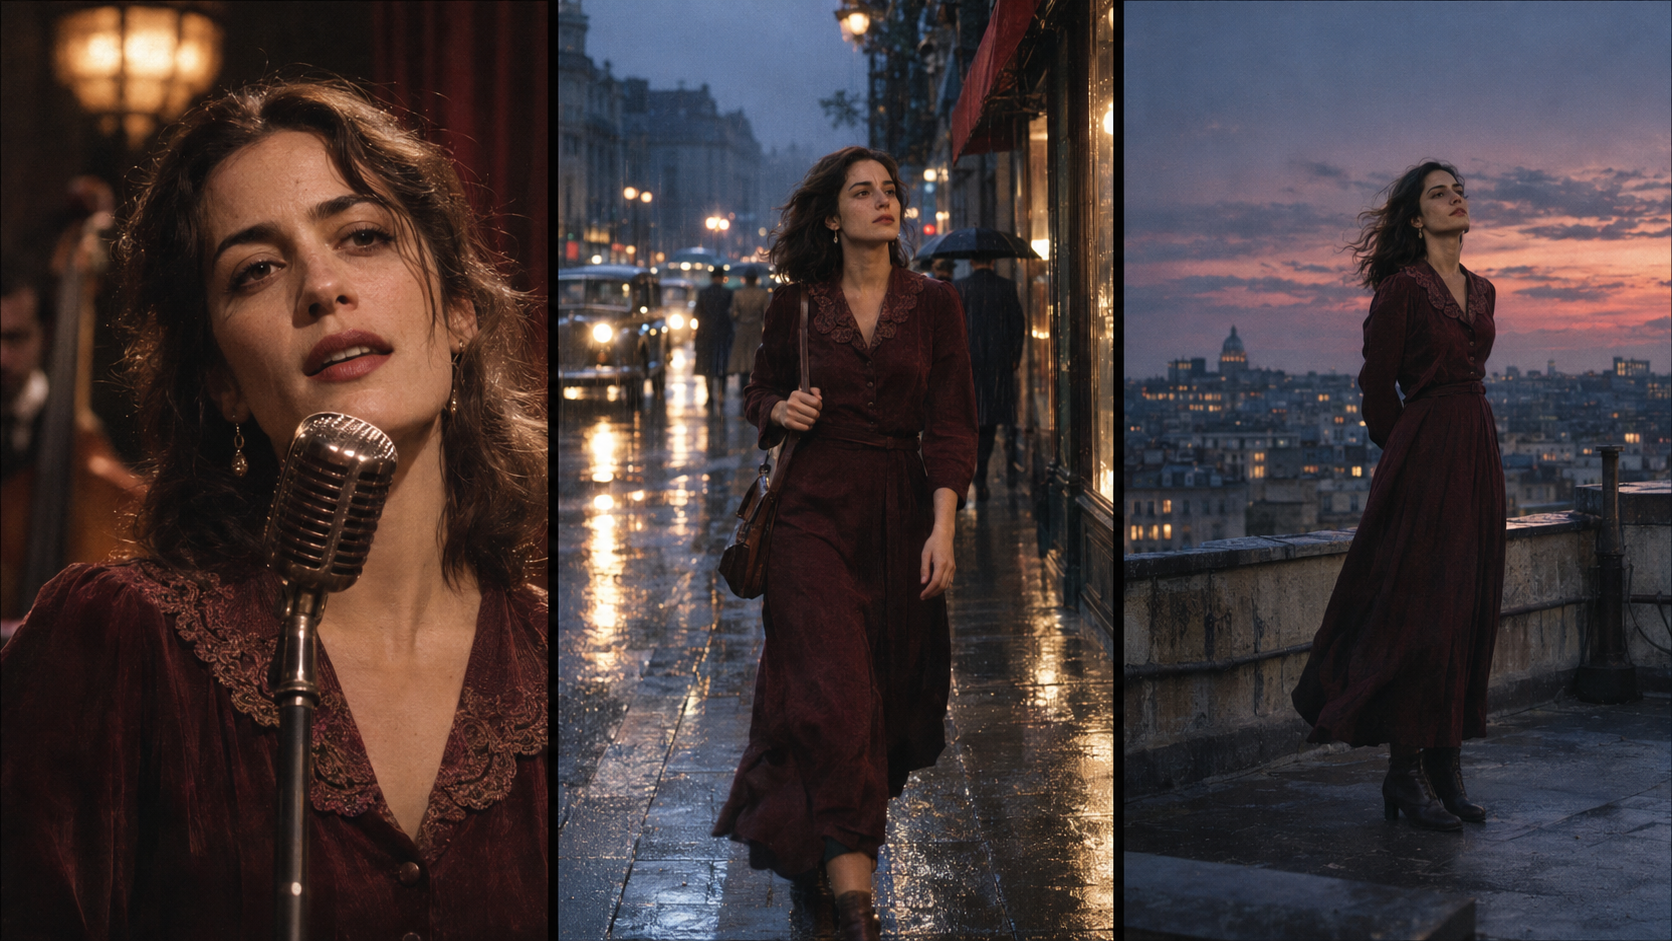
Keep Your Singer or Characters Recognizable
Character consistency is especially important for performance videos.
If the singer looks completely different in every scene, the audience may struggle to connect the visuals to the song.
A strong reference image helps establish the character's identity.
You should also keep track of the details that need to remain stable, such as hairstyle, facial features, wardrobe, and distinctive accessories.
This doesn't mean every shot needs to look identical.
You can move between a close-up, a walking scene, and a wide performance shot while preserving the same recognizable person.
Use Lip-Sync Only Where the Character Is Actually Singing
A common mistake in AI music videos is making the singer appear to perform during instrumental sections.
That can look unnatural, especially when the music contains a long introduction or a break without vocals.
Instead, distinguish between performance footage and storytelling footage.
During a vocal performance, lip-sync can help connect the singer's facial movement to the audio.
During instrumental moments, the character might simply look toward the camera, walk through the scene, or interact with the environment.
In BeatViz, you can work with lip-sync settings and refine individual segments rather than treating every shot as a singing performance.
Always review the results, particularly with fast lyrics, subtle expressions, or complex camera angles.
Fix Weak Shots Without Losing the Whole Concept
Even a carefully planned AI music video can produce occasional mistakes.
A character might face the wrong direction.
A supposedly quiet scene might contain exaggerated movement.
A shot meant to show two people interacting might place them too far apart.
When this happens, identify the specific problem.
For example, instead of writing:
Make this scene better.
Try:
Keep the same female character and rainy street environment. Change the camera to a medium close-up. She should notice someone across the road, pause naturally, and remain silent. Avoid exaggerated gestures or singing movements.
Specific instructions make it easier to evaluate the next result.
For more general production advice, see our guide to turning music into video with AI.
Making a complete MV from your Mureka song?
Build the full-song storyboard in BeatViz, review your shots before rendering, and refine the moments that matter most.
Mureka vs. BeatViz: Which Should You Use for Your Music Video?
Mureka and BeatViz can work together, but they aren't identical products.
Mureka's primary strength is creating and developing music, while its built-in video features provide a convenient way to make visual content around that music.
BeatViz focuses more directly on the music video production process.
| Your Goal | Practical Choice |
|---|---|
| Generate an original AI song | Mureka |
| Create a short AI singing video | Mureka's built-in MV feature may be sufficient |
| Create a template-based full-song lyric video | Mureka Lyrics Video |
| Develop a complete multi-scene music video | BeatViz Workflow |
| Direct video creation through conversation | BeatViz AI Director |
| Manually arrange and refine individual video clips | BeatViz Editor |
You don't have to choose one platform for everything.
A straightforward approach is to create and finalize the song in Mureka, then move the audio into BeatViz when you need a longer or more controllable visual production.
This is especially useful for creators who already have several finished Mureka tracks and want to turn them into a connected collection of music videos.
If you're still deciding which type of video tool you need, our comparison of the best AI music video generators for full songs explores several different production approaches.
How to Export Your Music Video for YouTube, TikTok, and Reels
Once your scenes are generated and assembled, review the complete video with the original soundtrack.
Watch it from beginning to end rather than checking only individual clips.
Make sure the visuals don't drift away from the music and that the beginning and ending feel intentional.
Then choose an export format based on where you intend to publish.
For a traditional YouTube music video, 16:9 horizontal is usually the natural choice.
For TikTok, Instagram Reels, and YouTube Shorts, 9:16 vertical generally makes better use of the mobile screen.
BeatViz also lists square 1:1 export support for suitable workflows.
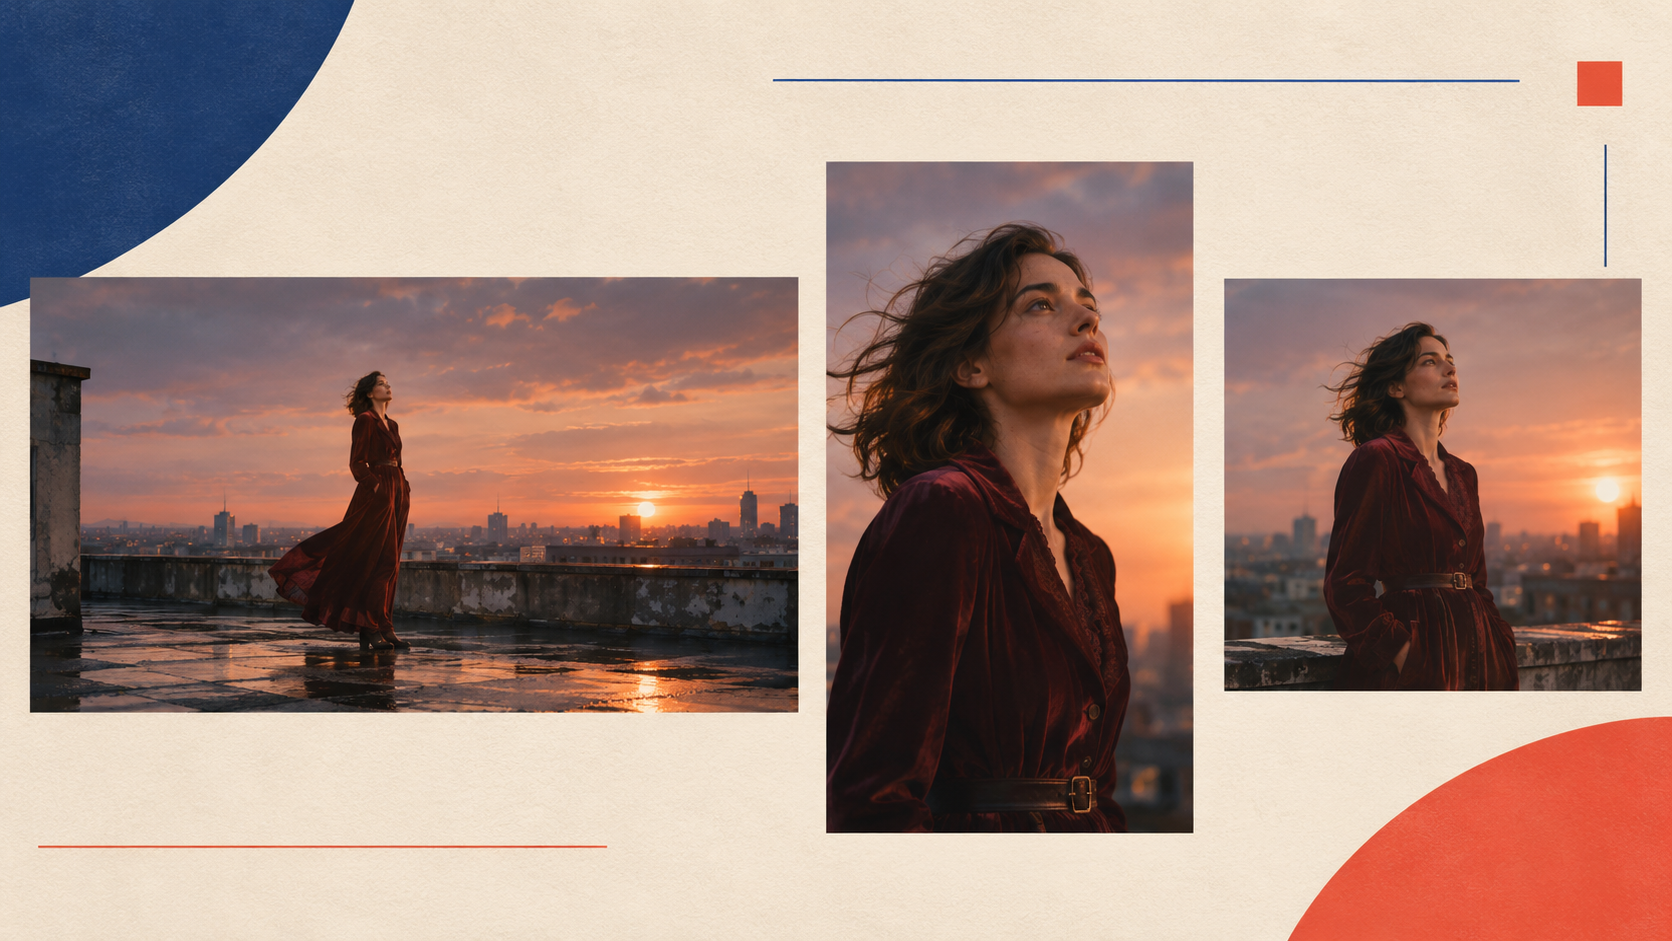
One Mureka song can become more than one video asset.
For example, you might create a complete horizontal MV for YouTube, then use your strongest chorus scene for a short vertical teaser.
You could also make a performance-focused clip for the first verse or a lyric-driven preview around the most memorable line.
Before publishing, check that you have the necessary rights for your Mureka-generated music, lyrics, character images, samples, and other materials.
The commercial-use permissions and download entitlements attached to AI music can vary, so review Mureka's current terms and your account plan rather than assuming every generated song can automatically be monetized.
Frequently Asked Questions About Mureka Music Videos
Can I turn a Mureka AI song into a music video?
Yes. Download the finished song as an audio file, then upload it to a compatible AI music video platform such as BeatViz. You can create a visual concept, generate scenes, refine clips, and export a completed music video.
Does Mureka have its own AI music video generator?
Yes. Mureka provides AI-generated music video and lyric video features. Its published documentation describes lyric-aware scenes, character lip-sync, and storyboard review. Its AI-generated MV feature currently lists a 10–90-second audio range, while its template-based Lyrics Video feature supports full-song duration.
Can I turn a Mureka MP3 into a video without editing experience?
Yes. Guided workflows can handle much of the initial music analysis, concept development, scene planning, and generation. You should still review the visuals and correct scenes that don't match your intentions.
Can I make a three-minute music video from a Mureka song?
Yes. A full-song video can be built by generating a sequence of coordinated shots and arranging them across the original soundtrack. BeatViz provides music-first workflow and editing tools for this kind of multi-scene production.
Will BeatViz change my original Mureka music?
The intended workflow uses your uploaded song as the soundtrack and builds visuals around it. Before publishing, listen to the final export and verify that the original audio, duration, and synchronization are correct.
Can I use the same AI singer throughout the entire video?
You can use a consistent character reference to help preserve the singer's identity across scenes. AI generation can still introduce variations, so review important shots and regenerate any that significantly change the character's appearance.
Can I add lip-sync to a Mureka AI song?
Yes. Lip-sync tools can be used for singer performance scenes. For the most natural result, focus on clips where the character is visibly performing vocals and avoid applying singing motions to instrumental or non-performance moments.
Is there a direct Mureka-to-BeatViz integration?
You don't need a direct integration for this workflow. Export your Mureka song as a supported audio file, then upload it into a BeatViz project.
Is Mureka or BeatViz better for a music video?
It depends on the result you need. Mureka's built-in video tools may be enough for a short MV or lyrics video. BeatViz is worth considering when you want full-song scene planning, more control over generated clips, or a manually editable timeline.
Can I publish a music video made from a Mureka song on YouTube?
You can upload a completed video to YouTube if you have the necessary rights to use and distribute its audio and visual assets. Verify the applicable Mureka license terms and any platform rules before publishing or monetizing.
Your Mureka Song Is Ready. Give It a Full Music Video.
Making a song with AI is only the beginning.
Once the vocals, melodies, and arrangement are finished, the next creative challenge is deciding what the music should look like.
For some songs, a simple lyric video is enough.
For others, you may want a cinematic story, a recognizable virtual performer, or a complete music video that follows every emotional shift from the opening note to the final chorus.
You don't need to recreate the song or build every scene from scratch.
Start with the Mureka recording you've already made.
Use its structure and emotion to guide the visuals. Build a storyboard, generate scenes, review the results, and refine the moments that matter.
Your music is already finished. Now give people a reason to watch it.
Upload Your Mureka MP3 and Start Your Music Video With BeatViz
Open BeatViz Workflow and turn your finished Mureka track into a full music video.