How to Make a Music Video: A Step-by-Step Guide for Artists
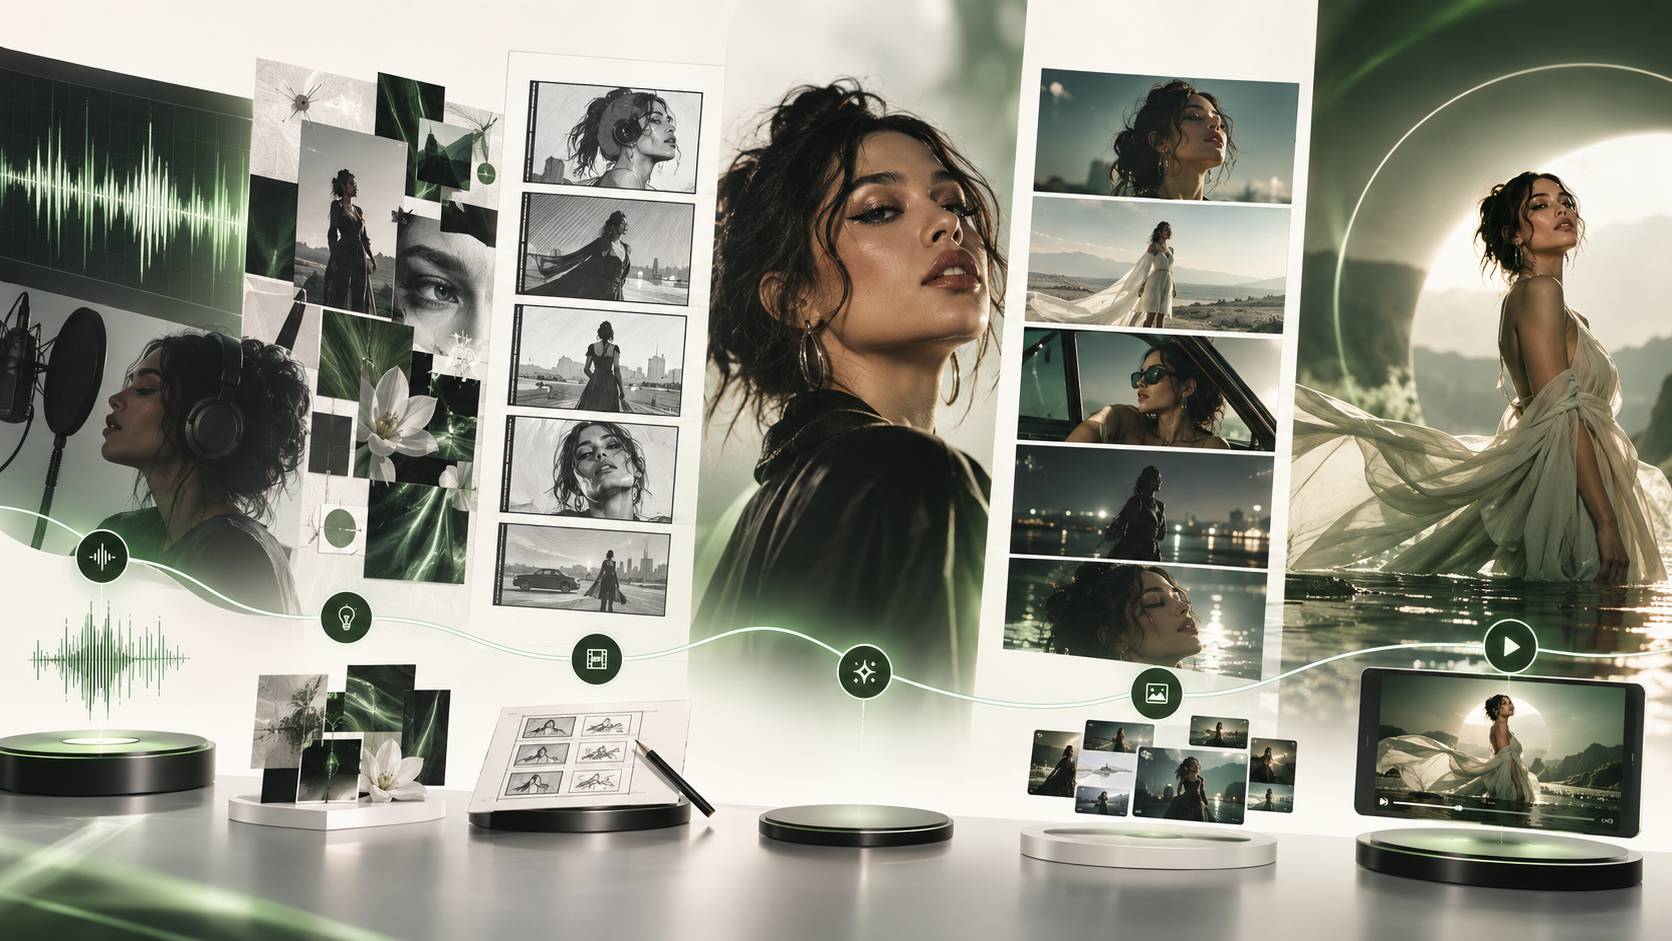
Making a music video no longer has to begin with a camera crew, studio rental, actors, lighting equipment, and weeks of editing.
If you already have a finished song, you can build a complete music video by turning the track into a visual concept, breaking that concept into scenes, creating the shots, reviewing the strongest moments, and assembling everything into a final video.
The tools have changed, but the basic idea has not: a good music video gives a song a visual world.
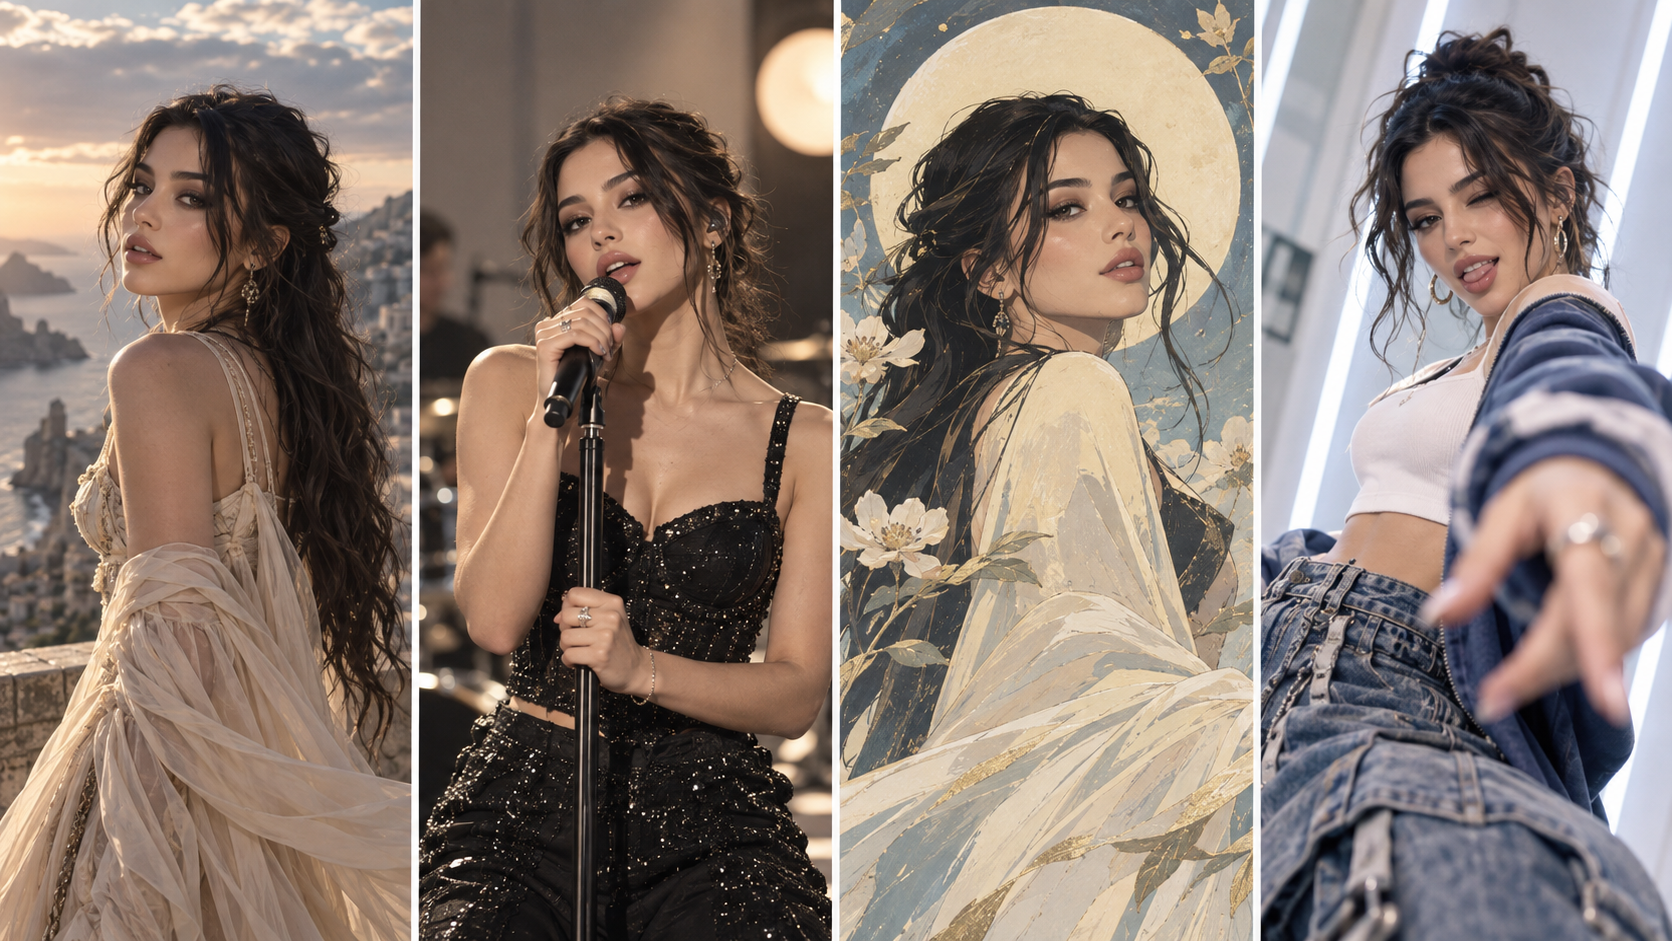
That world might be a performance on a dark stage, a story unfolding across several locations, an animated universe, a surreal visual experiment, or a character-driven cinematic short film.
In this guide, you will learn how to make a music video step by step, from preparing your song to choosing a visual direction, generating scenes, fixing weak shots, and exporting the final video for YouTube, TikTok, Instagram Reels, and other platforms.
What You Will Create
By the end of this process, you should have a finished music video built around your own song. Depending on your release strategy, that could be:
- •A full-length official music video for YouTube
- •A cinematic narrative video built around the lyrics
- •A performance-style video featuring an artist or AI character
- •An animated or stylized music video
- •A vertical video for TikTok, Reels, or YouTube Shorts
- •A 15–30 second teaser built around the strongest part of the song
- •Several promotional clips created from one main video
The goal is not simply to put random visuals behind a track.
Your scenes should feel connected to the rhythm, emotion, lyrics, energy, and structure of the music.
A slow verse may need longer shots and restrained camera movement. A chorus might need wider compositions, stronger movement, brighter lighting, or a new environment. A beat drop may call for faster cuts or a dramatic visual change.
That relationship between music and image is what makes a music video feel directed rather than randomly generated.
What You Need Before Starting
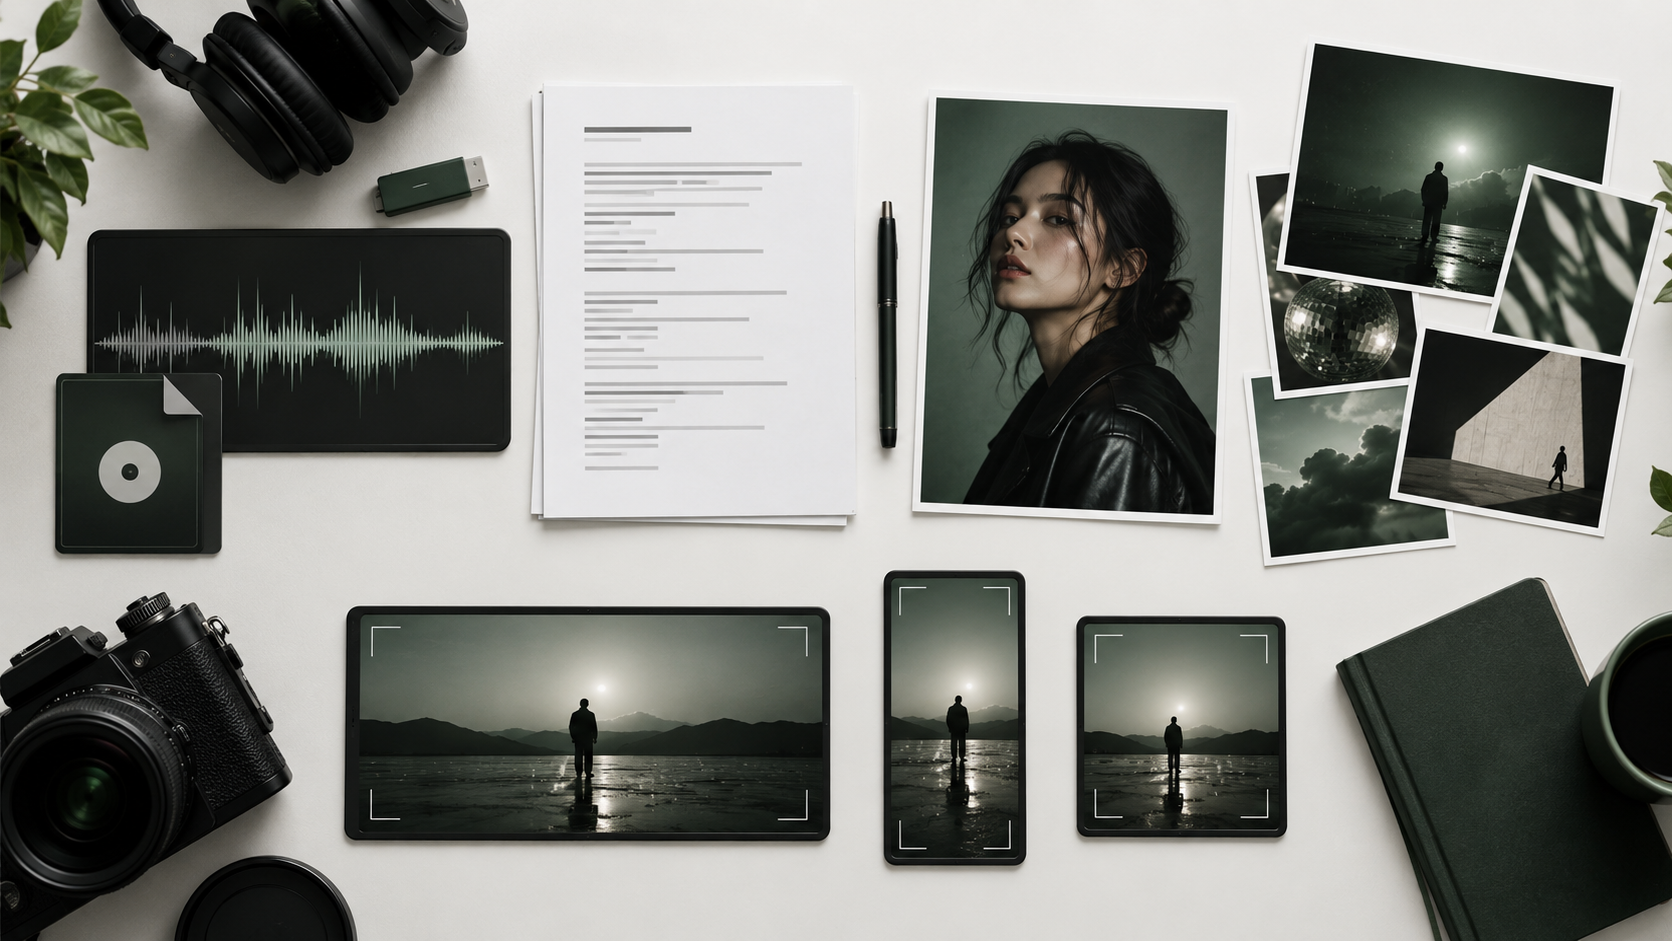
You do not need a complete storyboard before making a music video, but gathering the right material first will save a lot of time later.
1. A Finished Song
Whenever possible, use the final version of your track.
Avoid building an entire video around a demo if you already know the arrangement may change. Adding eight seconds to the intro or changing the chorus later can affect scene timing across the whole video.
A high-quality MP3 or WAV file is usually the most practical starting point.
If your song was created with Suno, you can also prepare the final Suno version you want to visualize.
2. Lyrics or a Short Description of the Song
Lyrics can help you find visual ideas even when you do not plan to display lyrics on screen.
For example:
Lyric:
“I keep driving where the city disappears.”
Visual idea:
A lone singer driving out of a neon city at night while skyscrapers slowly disappear into an empty desert.
If your song is instrumental, write one or two sentences describing what the track feels like instead.
For example:
A dark electronic track that starts slowly, becomes tense during the build, and explodes into a futuristic chase sequence at the drop.
3. Character Reference Images
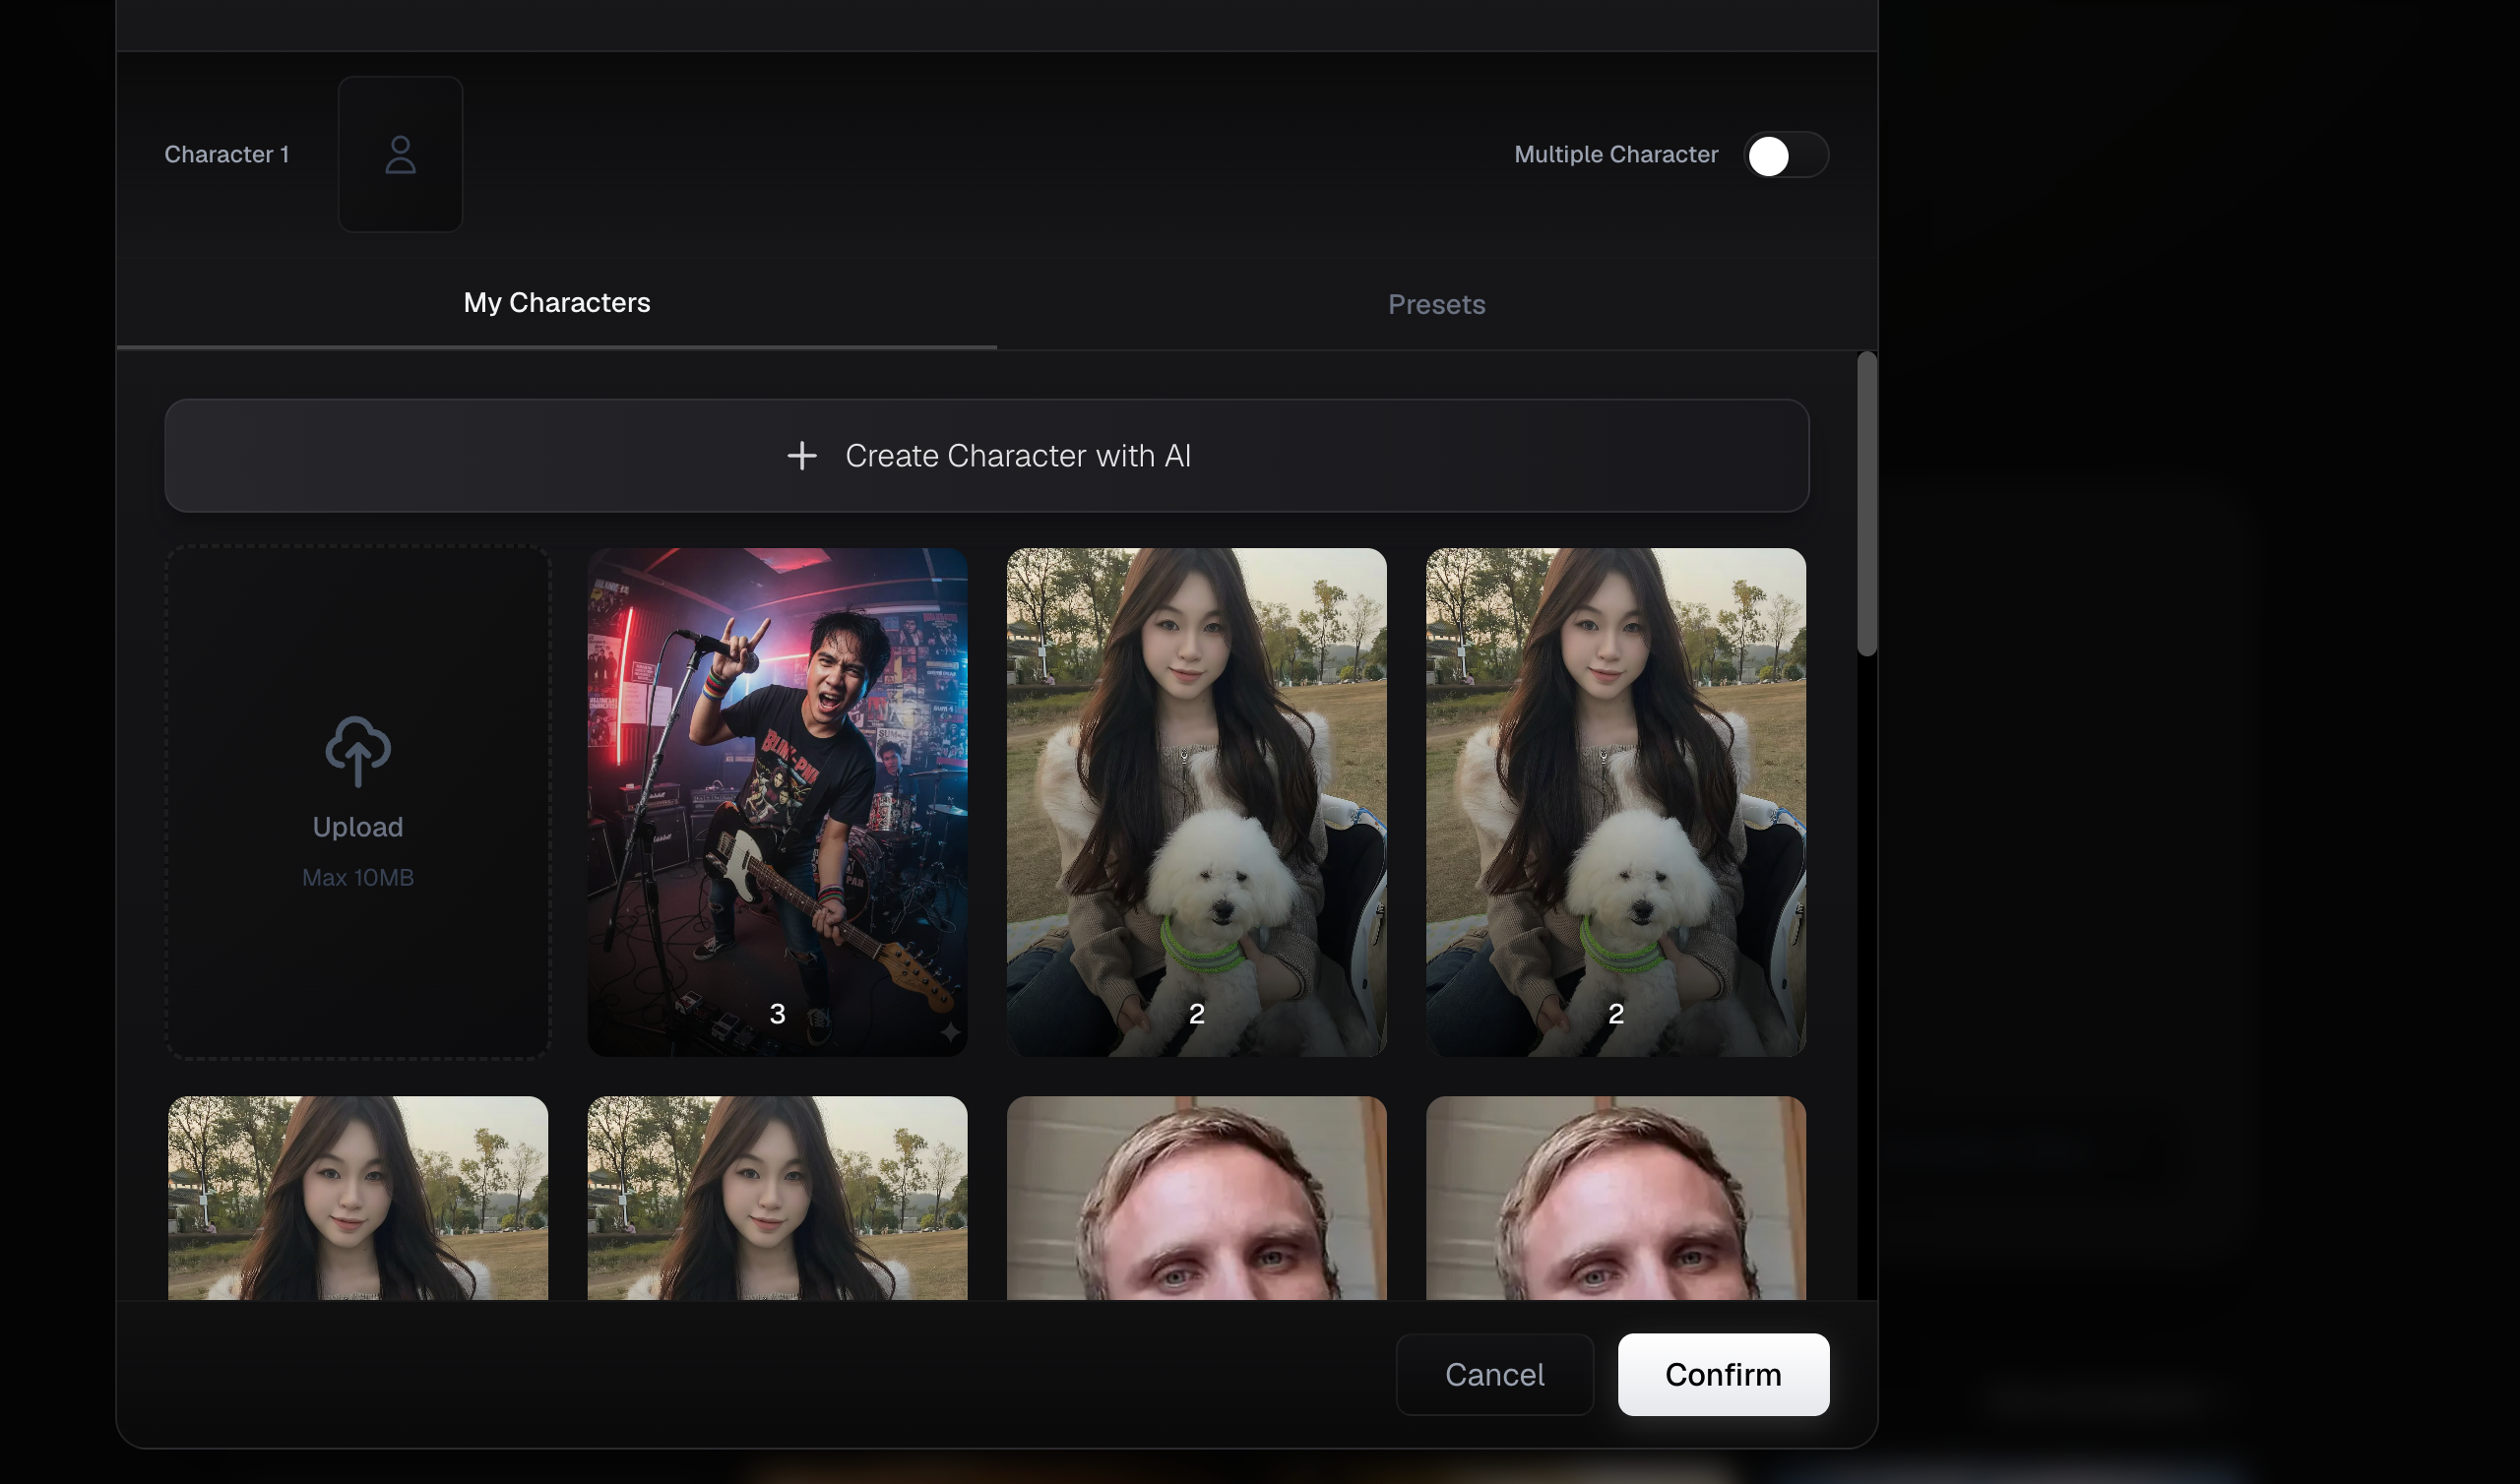
If the same artist, singer, or fictional character needs to appear throughout the video, prepare a clean reference image.
Good reference images usually have:
- •One clearly visible character
- •An unobstructed face
- •Clear lighting
- •A recognizable outfit
- •Enough resolution to preserve facial details
Avoid putting several different characters into one reference image unless the shot specifically requires them.
4. A Visual Reference or Cover Image
An album cover, artist photo, mood board, film reference, or color palette can help you decide what visual world the song belongs in.
You might define the look as:
- •1970s 35mm road movie
- •Futuristic Tokyo at midnight
- •Dreamy coastal romance
- •Dark gothic cathedral
- •Minimal black-and-white studio performance
- •Hand-drawn anime
- •Glossy K-pop fashion film
- •Surreal desert dreamscape
5. Your Target Platform
Decide where the video will be published before you generate it.
| Platform | Recommended approach |
|---|---|
| YouTube music video | 16:9, full song |
| TikTok | 9:16, strongest hook or chorus |
| Instagram Reels | 9:16, short visual highlight |
| YouTube Shorts | 9:16, short section with an immediate hook |
| Social feed preview | 1:1 where needed |
For most standard publishing workflows, MP4 is a practical final video format.
If you want both a full music video and promotional clips, plan those versions before generation. A composition designed for 16:9 may not crop cleanly into 9:16 later.
Step 1 — Prepare the Song and Choose the Right Section
Start with the music.
Listen to the entire track once without thinking about AI prompts, cameras, or visual effects. Instead, mark the places where the song changes.
Look for:
- •Intro
- •Verse
- •Pre-chorus
- •Chorus
- •Drop
- •Instrumental break
- •Bridge
- •Outro
You are looking for changes in energy and emotion, not simply musical labels.
Imagine a 3-minute song structured like this:
0:00–0:18 — Intro
Sparse vocals and atmospheric sound.
0:18–0:48 — Verse
The story begins.
0:48–1:08 — Chorus
Energy expands.
1:08–1:38 — Verse 2
Return to the story with new visual information.
1:38–1:58 — Chorus 2
Bigger version of the previous visual idea.
1:58–2:20 — Bridge
Unexpected change.
2:20–3:00 — Final chorus and outro
Visual climax followed by resolution.
Now start imagining how the visuals could evolve with those sections.
The intro does not necessarily need five different shots. It may be stronger to begin with one slow establishing shot.
Likewise, the chorus should usually feel visually different from the verse. That difference might come from location, lighting, movement, framing, editing speed, or character action.
If you only need a promotional video
You do not have to create the entire song.
Choose the strongest 15–30 seconds instead — usually:
- •The chorus
- •The drop
- •A memorable lyric
- •A dramatic transition
- •The most visually recognizable moment
This is particularly useful for TikTok, Reels, and Shorts.
Step 2 — Choose a Clear Visual Direction
One of the biggest mistakes people make when learning how to make a music video with AI is using a prompt like:
“Make a cool cinematic music video.”
The problem is not that the prompt is too short.
The problem is that it does not make any creative decisions.
Before generating anything, define at least five things:
- Subject — Who or what are we watching?
- World — Where does the video happen?
- Mood — How should it feel?
- Visual style — What should it look like?
- Progression — How should the video change as the song develops?
For example:
Create a cinematic music video about a female singer wandering alone through an empty coastal town at night. The verses should feel quiet and melancholic, using slow tracking shots and close-ups. During the chorus, she reaches the beach and the environment becomes brighter and more surreal, with moonlight reflecting across the ocean. Use realistic cinematography, subtle film grain, soft blue lighting, and restrained camera movement.
That immediately gives the project a world.
Use the “one world, several scenes” rule
You do not need every shot to happen in exactly the same room.
But the scenes should feel like they belong to the same film.
World: futuristic Tokyo
Possible scenes:
- •Apartment window overlooking the city
- •Elevator interior
- •Neon alley
- •Convenience store
- •Subway platform
- •Rooftop
These are different scenes, but they still belong to one visual universe.
Compare that with:
- •Medieval castle
- •Neon Tokyo
- •Tropical beach
- •Spaceship
- •1950s diner
Unless the concept intentionally jumps between worlds, the second version is much harder to make visually coherent.
Step 3 — Generate the Story, Scenes, and First Frames
Once the song and visual direction are ready, you can start turning the idea into actual scenes.
You could generate every image and video clip separately, but for a complete music video this quickly becomes difficult to manage.
You need to remember:
- •Where each scene belongs
- •Which character appears
- •What happened in the previous shot
- •How long each section lasts
- •Whether the chorus should repeat an earlier location
- •Which clips still need to be regenerated
- •Whether the visual energy matches the music
This is where a guided music-video workflow becomes useful.
Use BeatViz Workflow for a guided song-to-video process
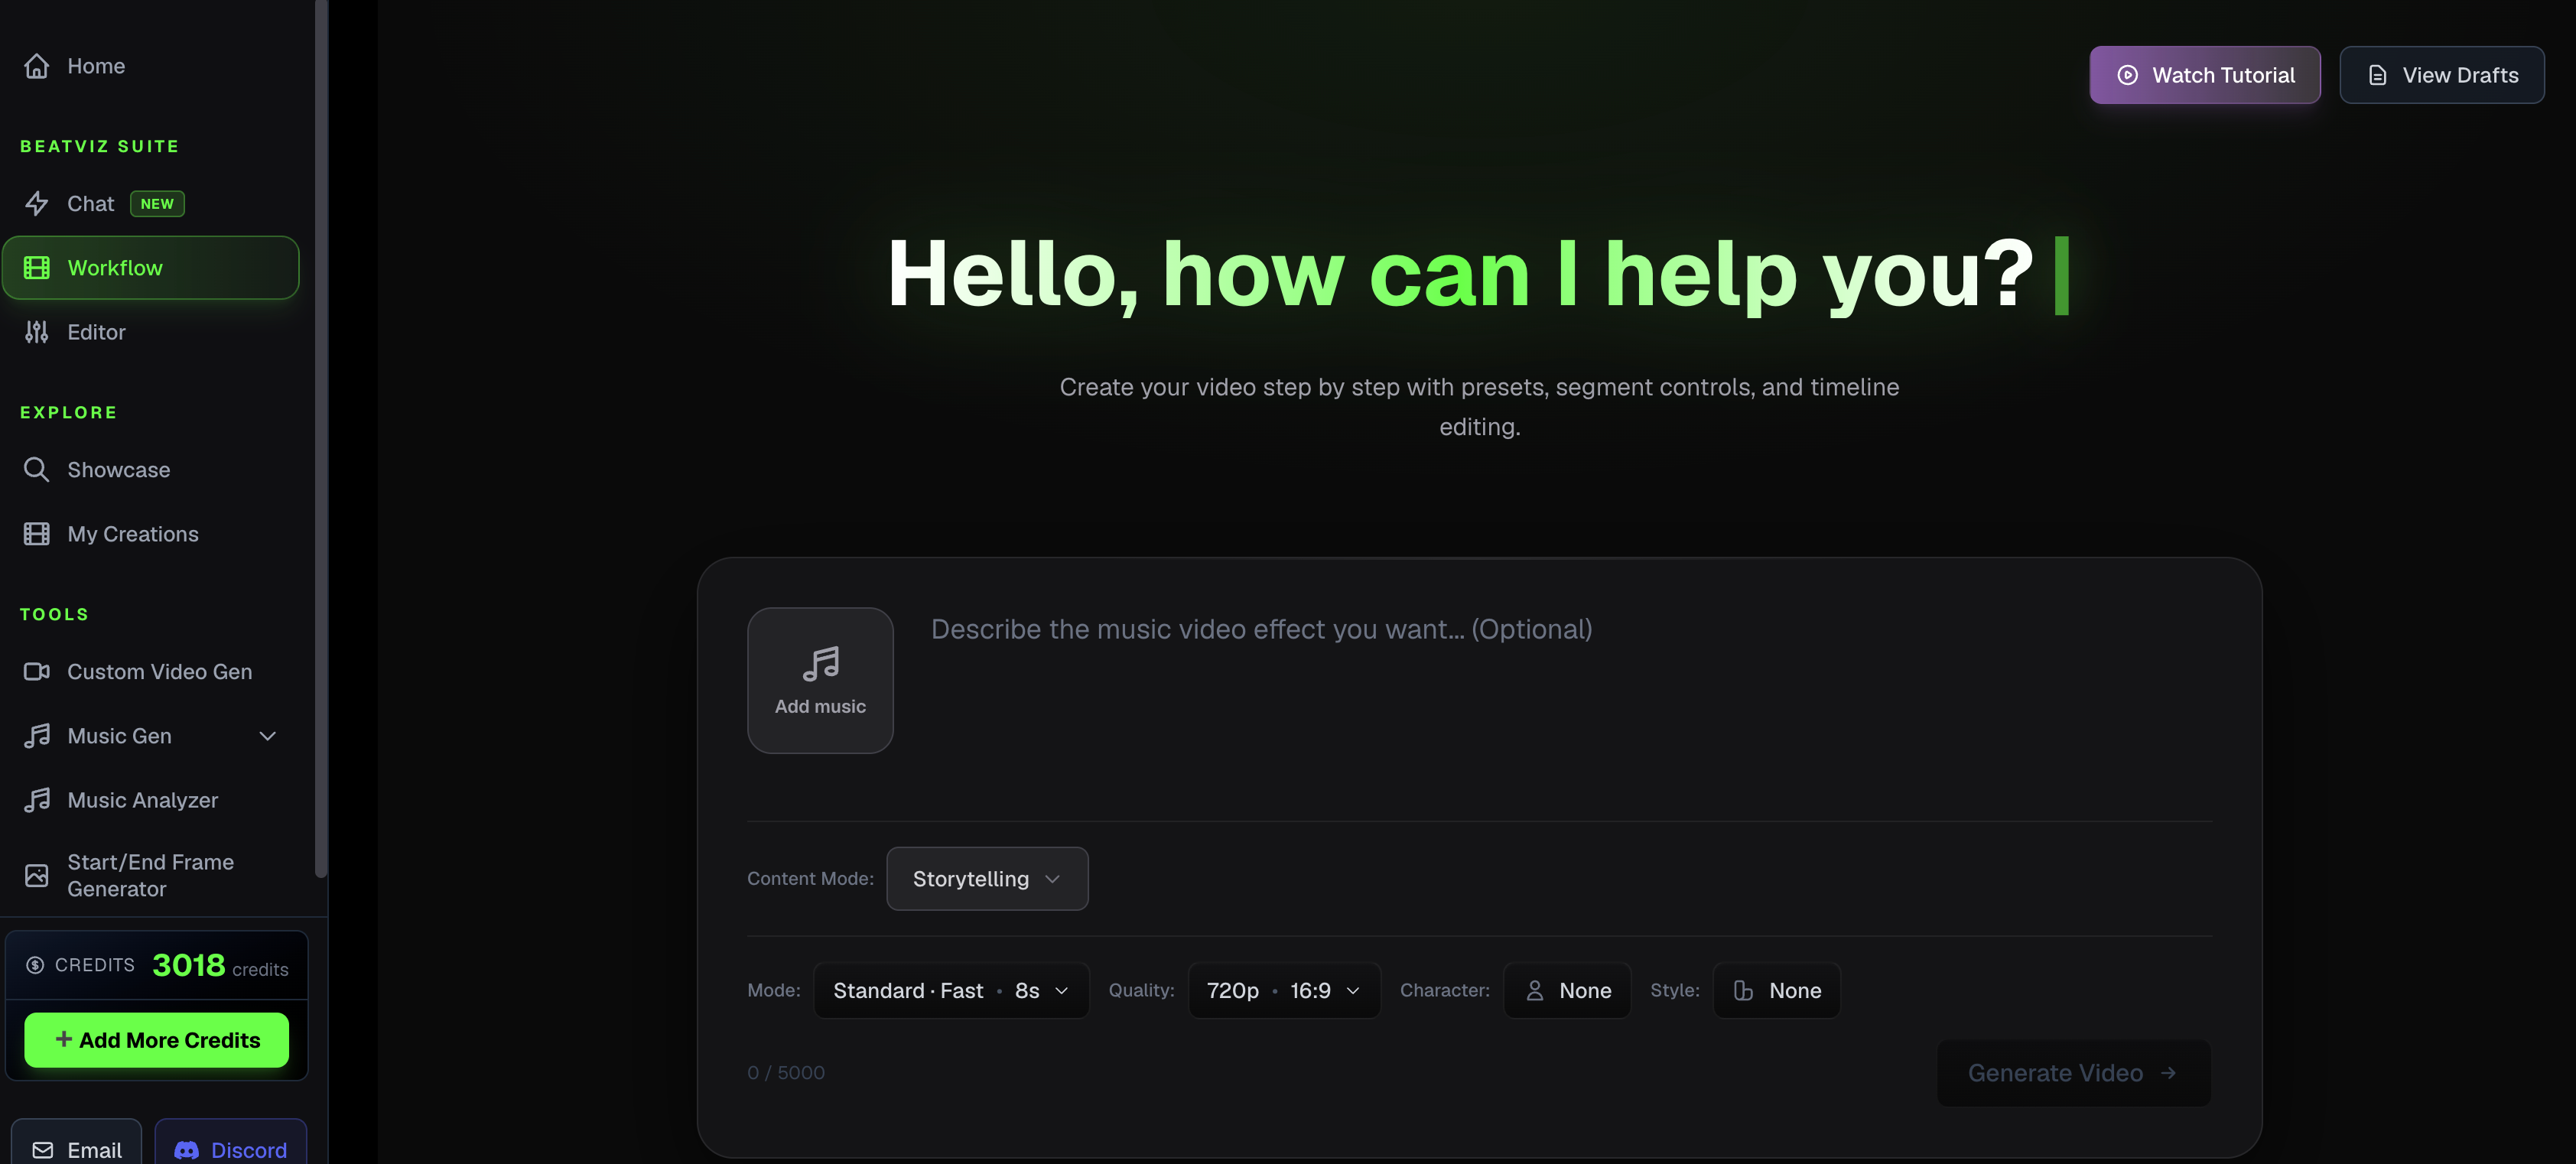
In BeatViz, Workflow Mode is designed for creators who want to make a complete music video quickly without manually building everything on a timeline.
You do not need traditional editing experience, and you do not have to continuously direct the AI through a conversation.
Instead, you move through a series of visible stages and approve the important decisions along the way.
The basic process looks like this:
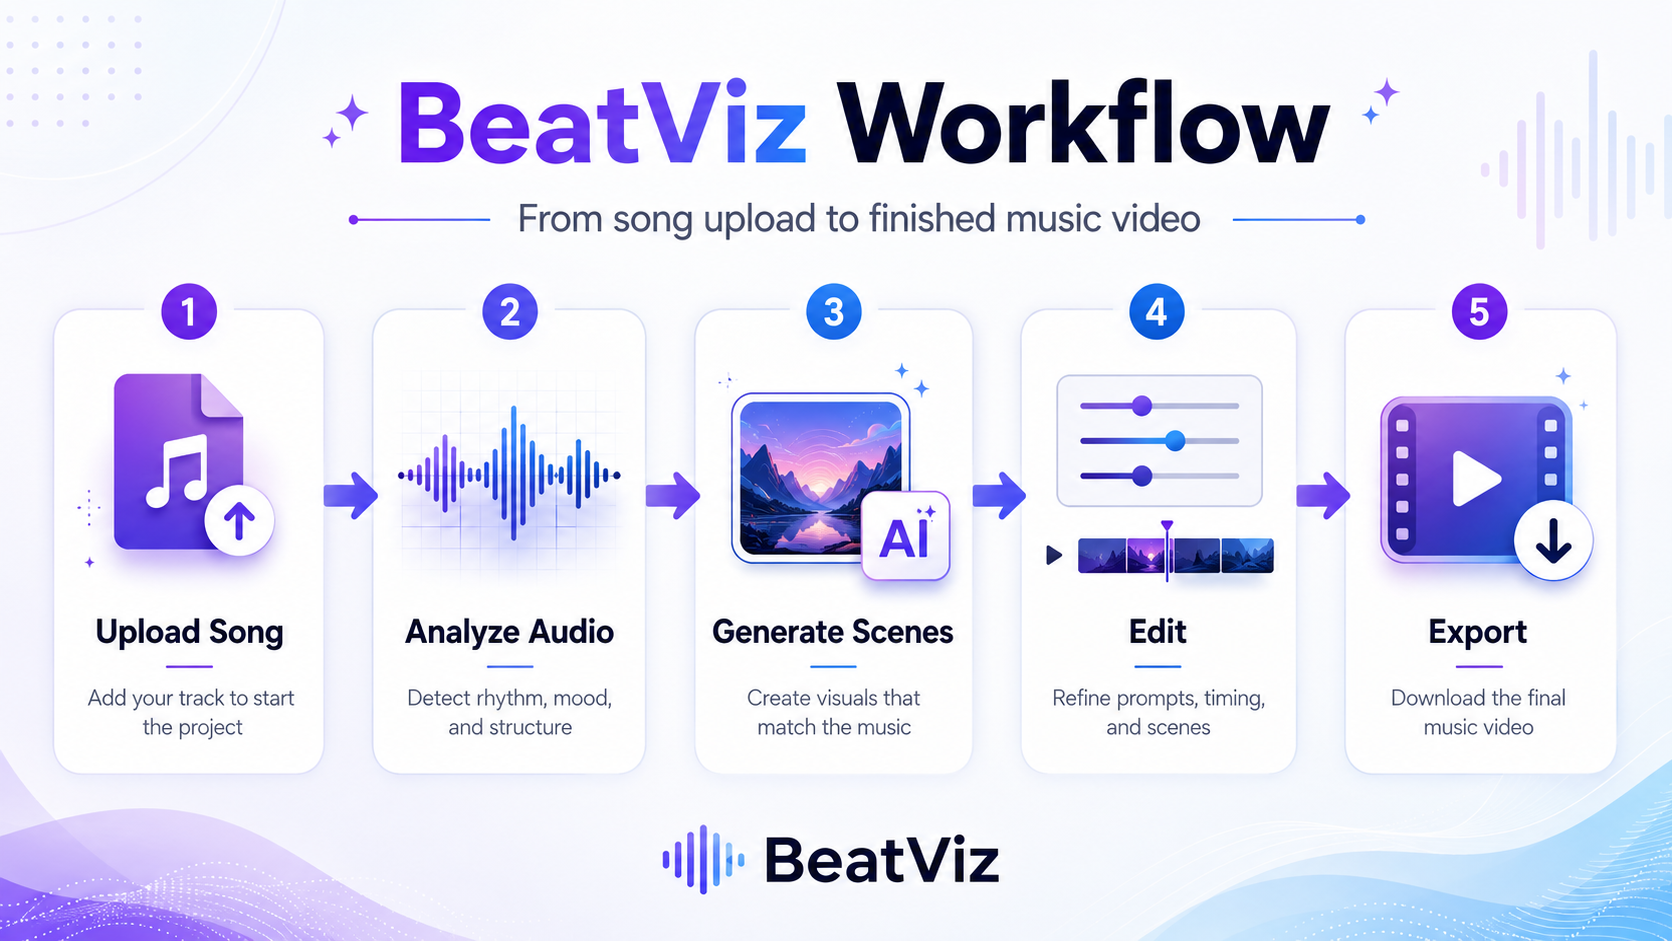
Upload music → Analyze song → Choose visual direction → Build story → Review scenes → Generate first frames → Generate video clips → Export
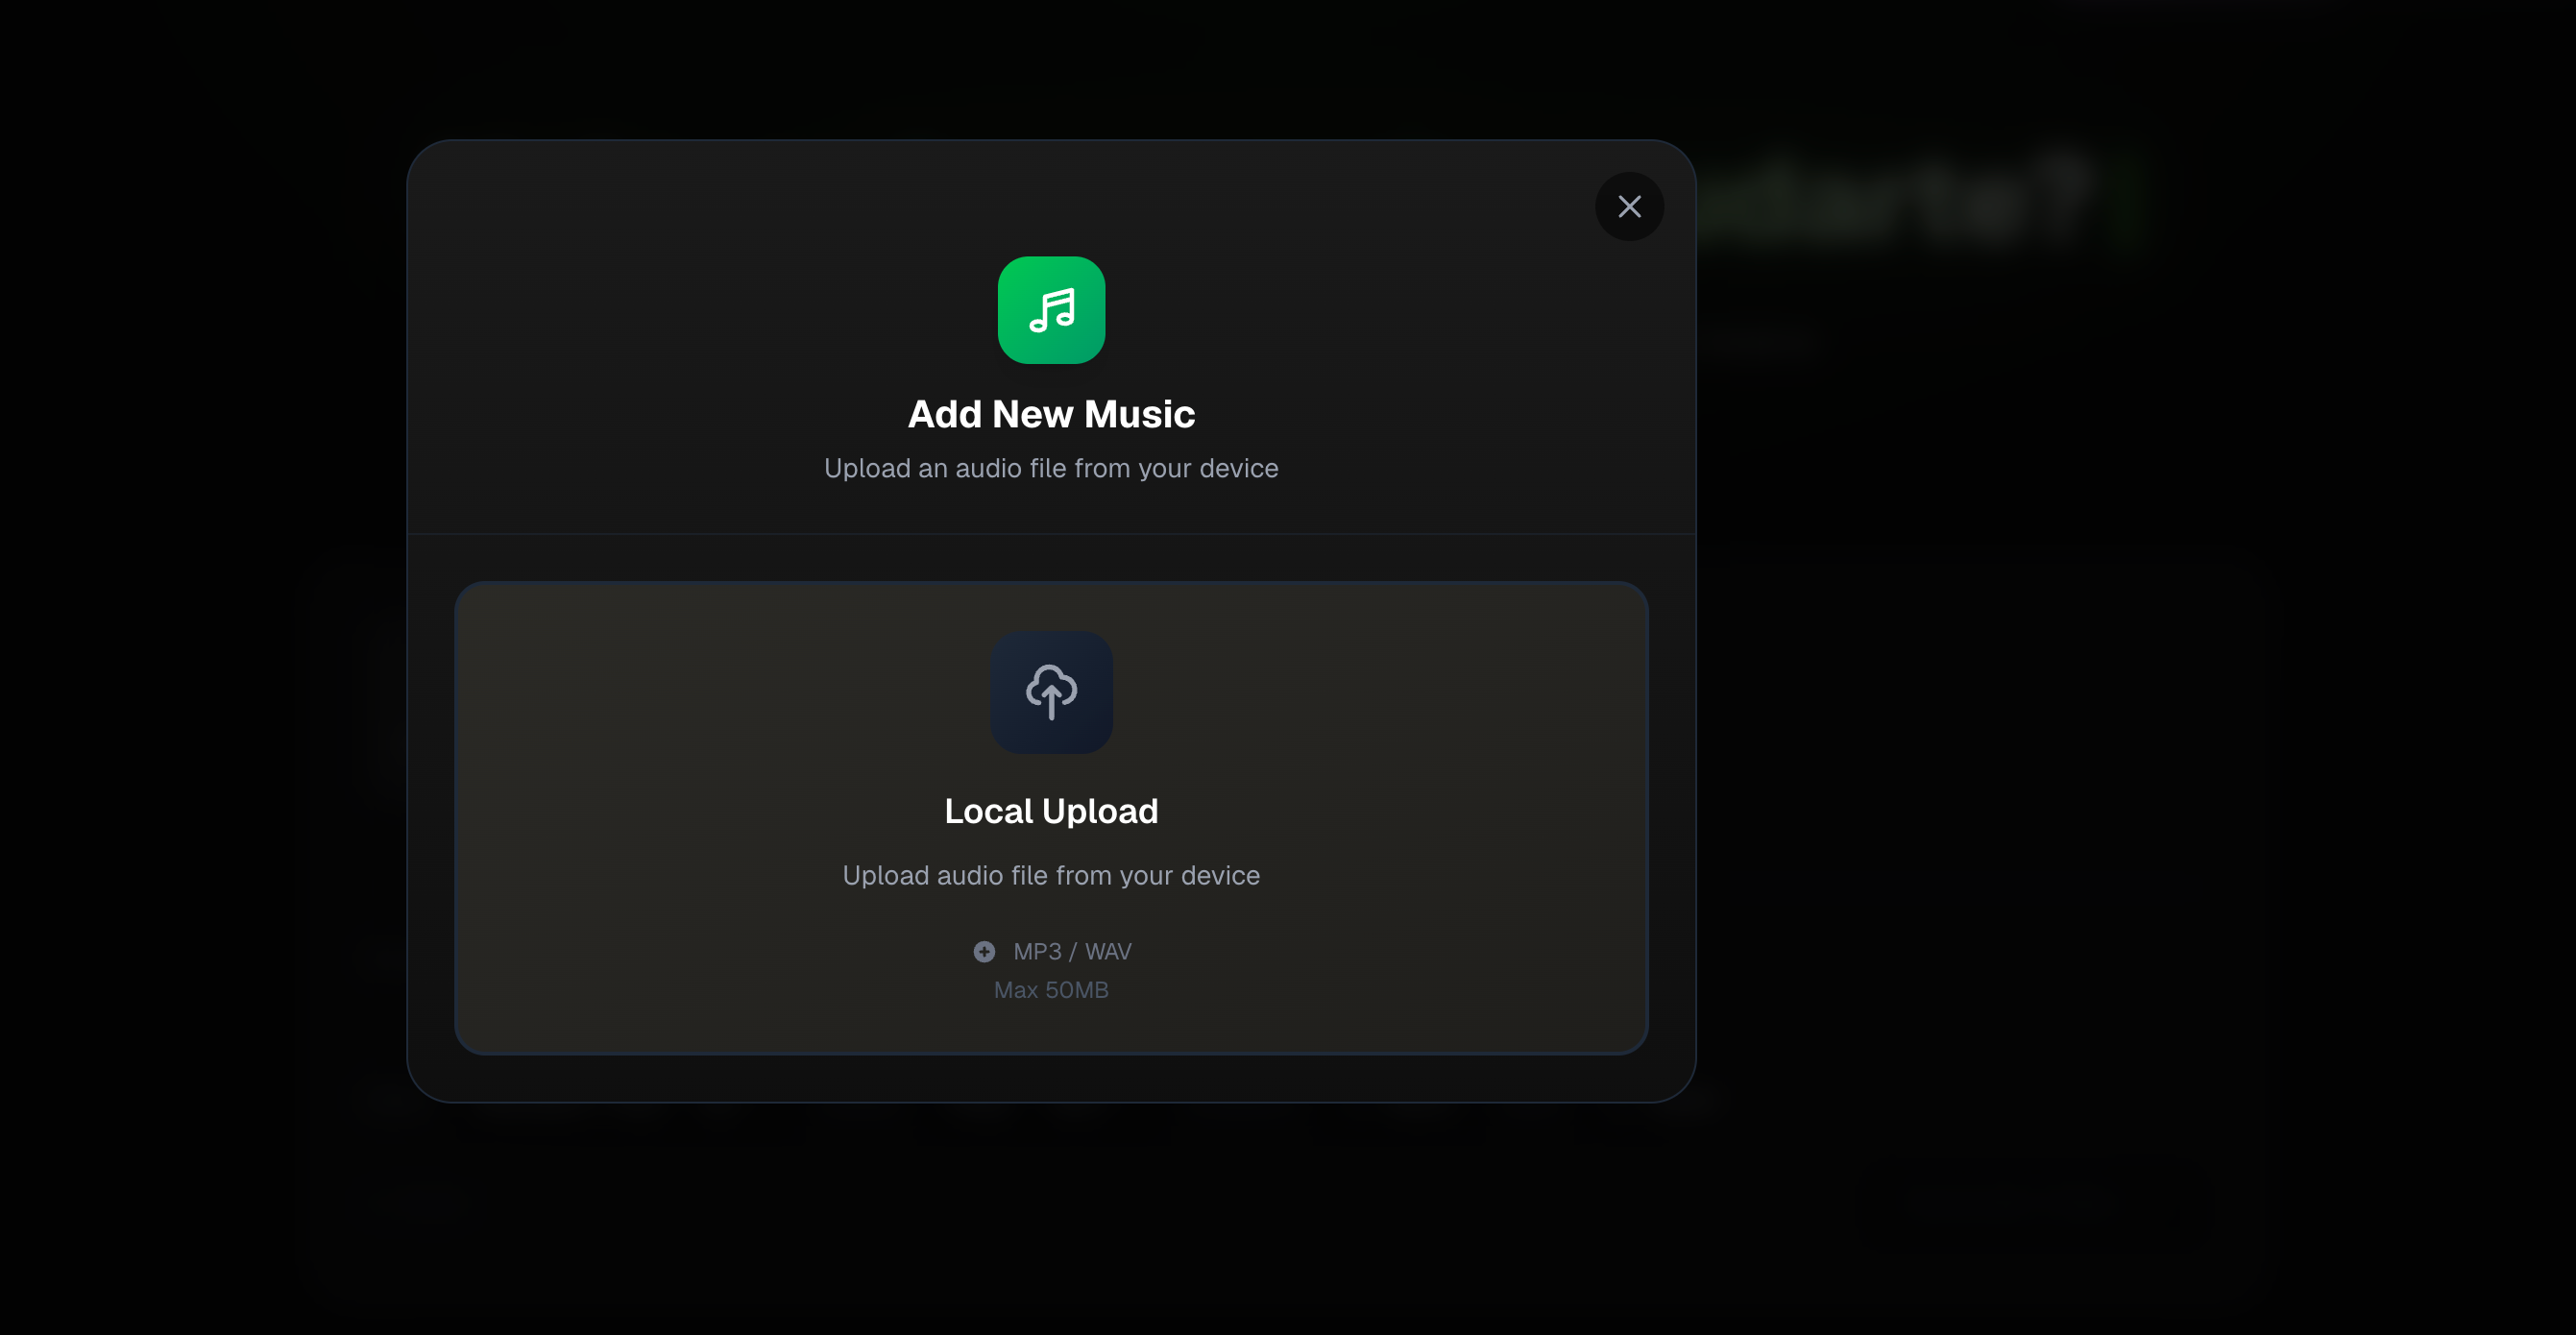
Start by uploading your music or importing your track from Suno.
You can then choose the section you want to turn into a video and define the project before generation.
Depending on the project, you can provide:
- •A creative direction
- •Character reference images
- •A visual style
- •Video quality
- •Generation mode
- •Lip-sync preferences
Let the music determine the structure
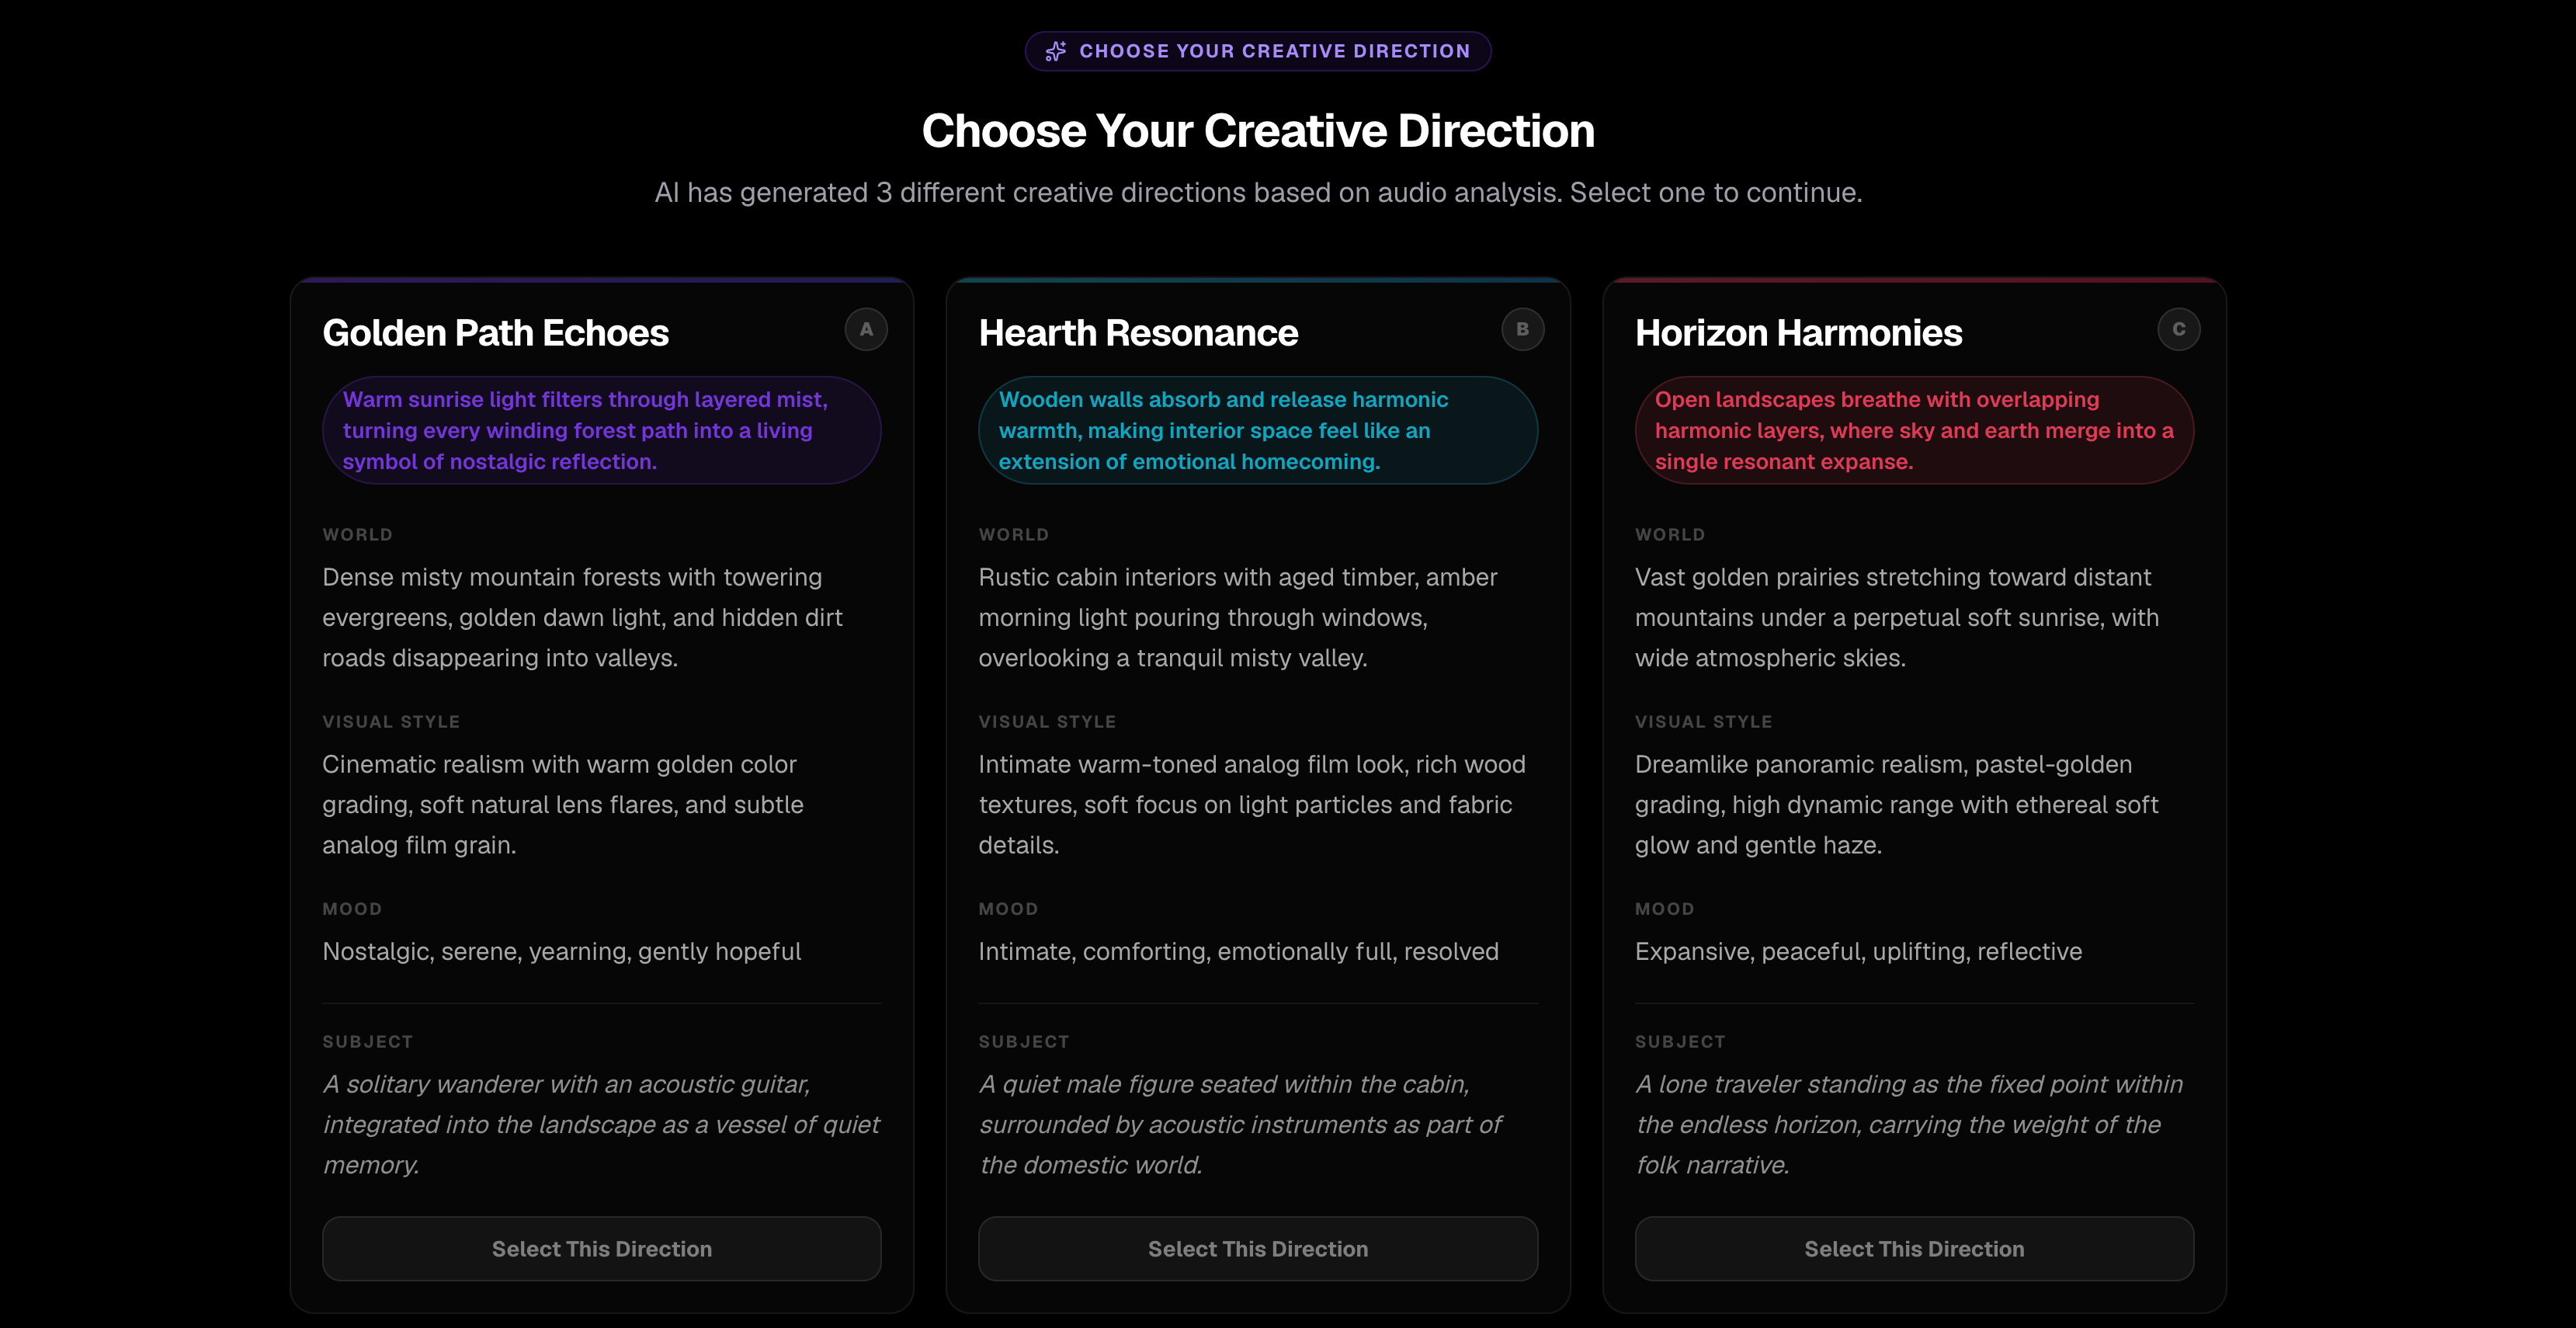
Once the project begins, BeatViz analyzes the song before building the visuals.
Instead of treating the track as one long audio file, the AI examines its rhythm, sections, and emotional changes.
It then proposes three visual directions for the music video.
You do not have to accept the first one.
Choose the direction that best matches the identity of the song.
This is an important creative checkpoint because the concept will influence almost everything that follows: characters, scenes, environments, lighting, story progression, and shot design.
Turn the concept into a scene-by-scene story
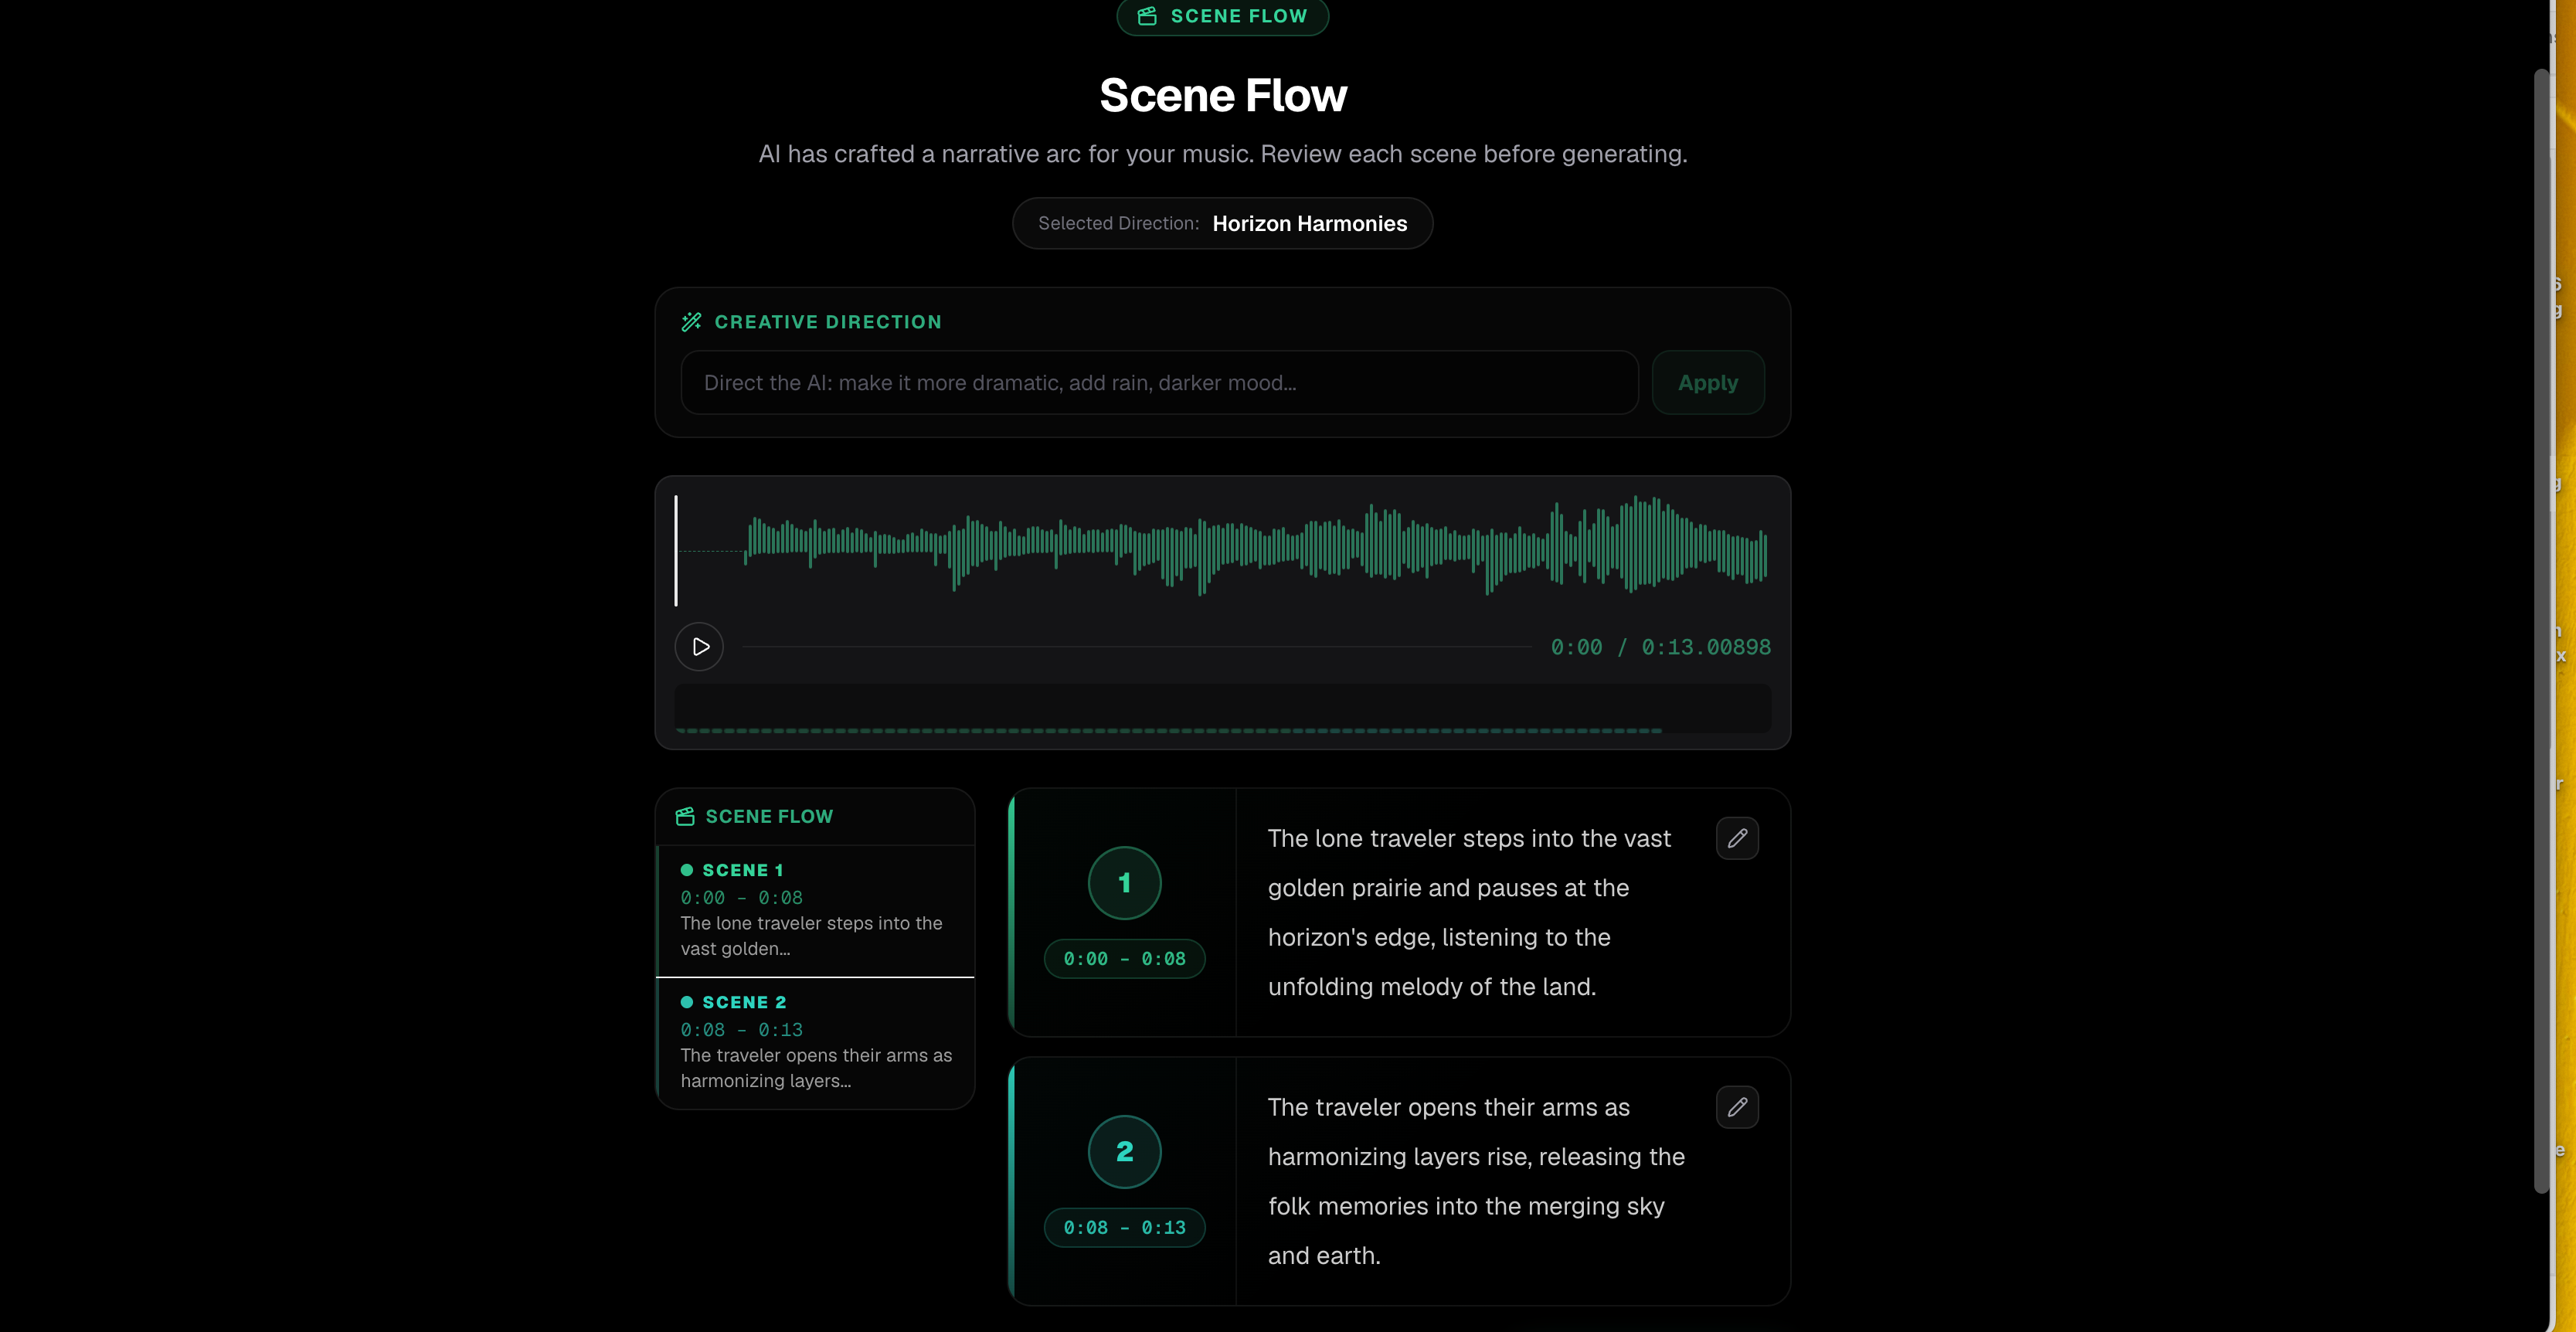
After you choose the direction, the workflow develops it into a sequence of scenes based on the music.
Instead of receiving one giant prompt, you can inspect the story section by section.
For example:
Scene 1 — Intro
Wide establishing shot of the singer standing alone at a rain-covered train station.
Scene 2 — Verse
Medium tracking shot following her onto an empty train.
Scene 3 — Pre-chorus
Close-up as city lights move across her face through the window.
Scene 4 — Chorus
The train disappears and she suddenly stands in the middle of a glowing city intersection.
If one scene feels wrong, change that scene.
If the entire direction feels wrong, rewrite the larger story.
This is much more efficient than generating the final video immediately and discovering later that the underlying idea does not work.
Treat the first frame as a major creative checkpoint
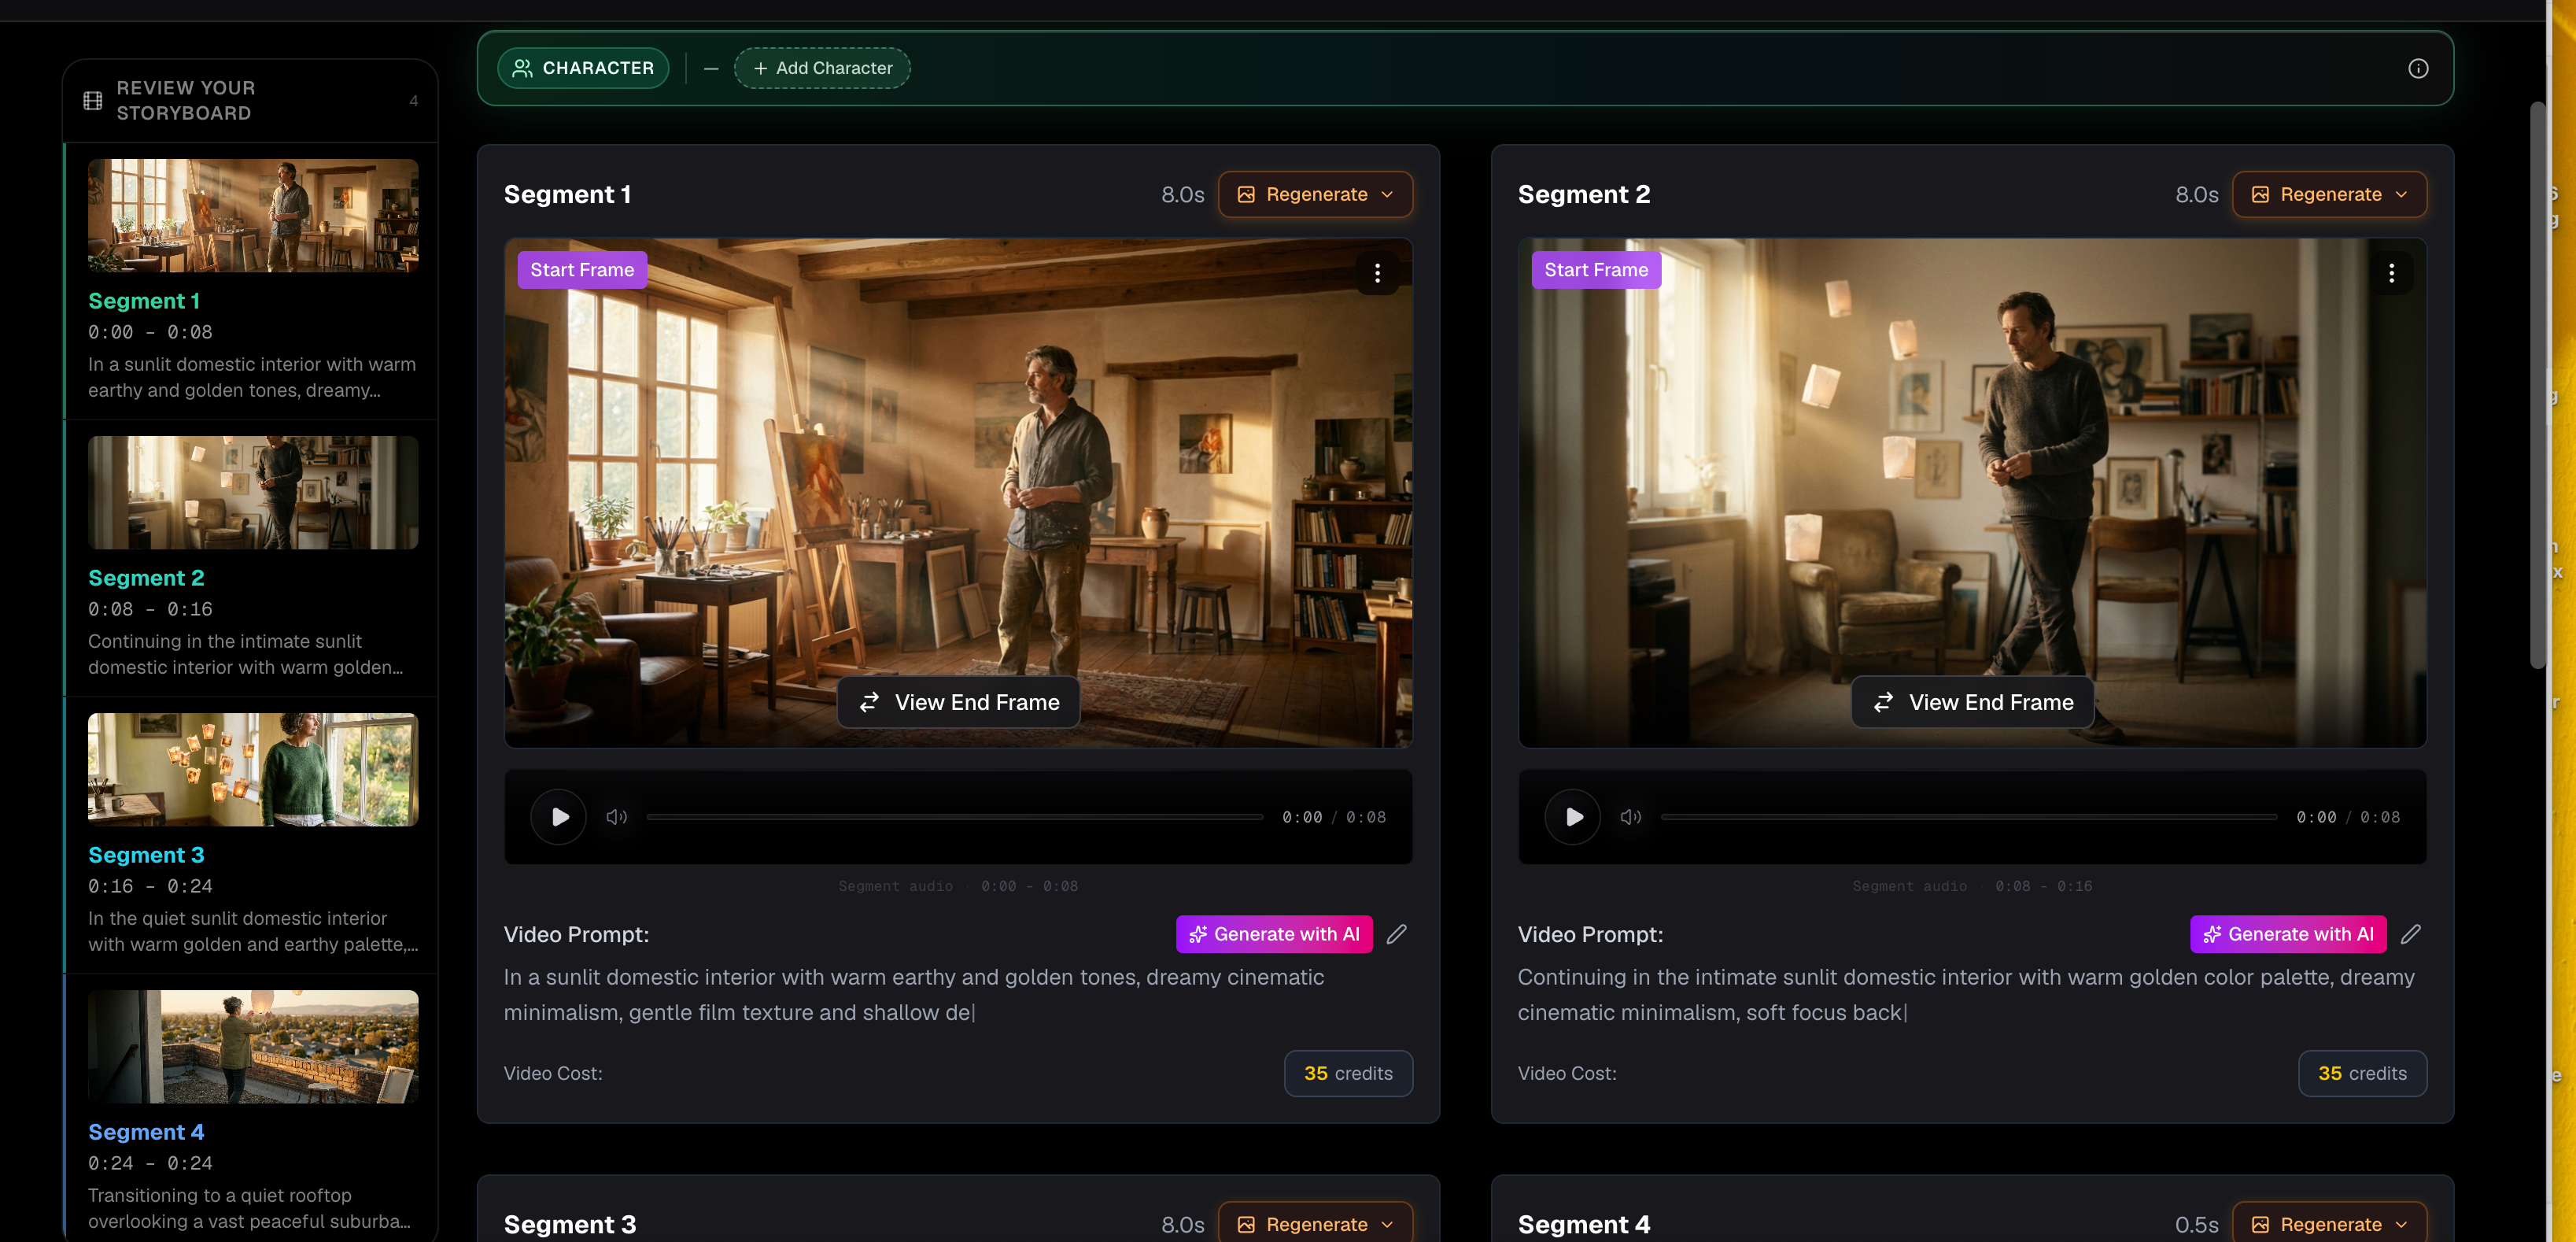
After the storyboard is approved, BeatViz generates a first-frame image and shot prompt for each scene.
This is one of the most important parts of the entire process.
The first frame establishes:
- •What the character looks like
- •Where the character is positioned
- •What the location looks like
- •Clothing
- •Lighting
- •Camera angle
- •Composition
- •Important background objects
If the first frame is already wrong, generating an expensive video from it usually will not solve the problem.
Review the image first.
Ask:
- •Is this the correct character?
- •Is the face consistent?
- •Is the outfit correct?
- •Does the location match the story?
- •Is the camera angle useful?
- •Are important objects placed correctly?
- •Does this shot work next to the previous one?
If not, you can revise the prompt, regenerate the image, or replace it with another image from your material library before moving forward.
Fix the image before generating the video.
Generate motion only after the image works
Once the first frame looks right, generate the actual video clip.
This ordering matters.
Video generation is normally more expensive than planning, prompting, or producing a still image. By solving composition and character problems before video generation, you avoid repeatedly paying to regenerate a fundamentally wrong shot.
That is one reason Workflow is useful for complete music videos: the expensive generation step comes after the main creative decisions have already been reviewed.
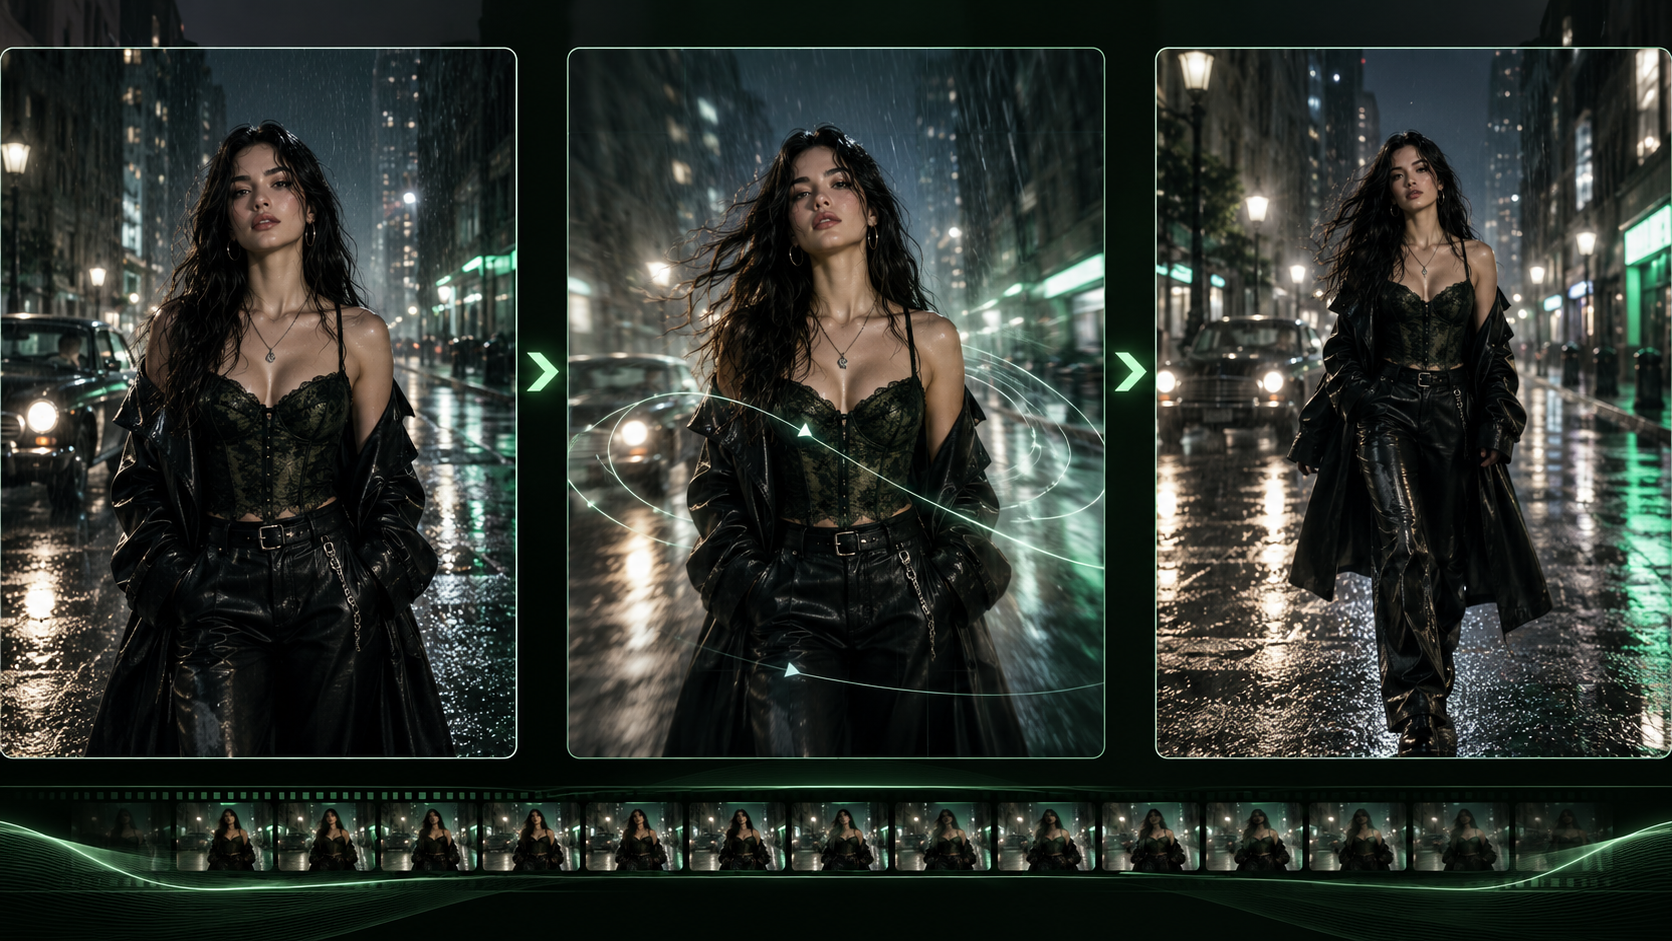
Ready to Create Your Music Video?
Start with your song and build a complete music video with BeatViz Workflow.
Start Creating →Step 4 — Review the Video and Edit Weak Scenes
Do not judge a music video only by individual beautiful shots.
Watch the entire sequence with the music.
A clip can look impressive on its own but still be wrong for the song.
During your first review, focus on six things.
1. Character consistency
Does the same character still look like the same person from scene to scene?
Check:
- •Face
- •Hair
- •Clothing
- •Age
- •Accessories
- •Body proportions
Small variations may be acceptable in distant shots, but obvious identity changes become distracting quickly.
2. Scene continuity
Look for objects or locations that change unexpectedly.
For example:
- •One piano becomes two pianos
- •A car changes model between shots
- •A bedroom suddenly has another window
- •Clothing changes without a reason
- •The character moves to a completely different environment between connected shots
If continuity matters, return to the first frame and fix the underlying composition before regenerating the clip.
3. Motion quality
A good image does not guarantee good motion.
Watch for:
- •Unnatural walking
- •Distorted hands
- •Impossible camera movement
- •Objects changing shape
- •Characters merging with the background
- •Sudden changes in body position
If the motion fails, try simplifying the action.
Instead of:
She runs through the street, turns around, jumps onto the car, looks at camera, removes her jacket and the camera circles her.
Try:
She walks quickly toward the camera while looking over her shoulder. The camera slowly tracks backward.
One clear action is usually easier to control than five actions happening simultaneously.
4. Musical pacing
Ask whether the visual intensity follows the track.
If every section uses the same camera speed, shot size, and movement, the chorus may not feel any bigger than the verse.
You can create contrast through:
- →Faster or slower motion
- →Close-up versus wide shot
- →Dark versus bright lighting
- →Static versus handheld camera
- →Indoor versus outdoor location
- →Solo character versus crowd
- →Small environment versus large environment
5. Lip sync
If your video includes visible singing, review the mouth movement closely.
Lip sync is most noticeable in medium shots and close-ups where the mouth is clearly visible.
You do not necessarily need lip sync in every scene. Wide establishing shots, back-facing shots, cutaways, dance sequences, and environmental shots can give you visual variety without requiring the singer's mouth to remain visible constantly.
6. Scene-level quality
Do not restart a 3-minute music video because one six-second section looks bad.
This is another advantage of a scene-based workflow.
In BeatViz Workflow, if one section is weak, you can return to that section and regenerate it instead of rebuilding the whole project.
Your project also remains in Drafts, so you can leave the page and continue working on it later.
Step 5 — Export the Music Video and Prepare It for Publishing
Once every scene is ready, watch the video from beginning to end one final time.
Do not skip this review.
Check:
- ✓Does the first shot create interest?
- ✓Is there enough visual change during the first 15 seconds?
- ✓Does the first chorus feel bigger than the verse?
- ✓Are any cuts awkward?
- ✓Does the character remain recognizable?
- ✓Are there obvious AI artifacts?
- ✓Does the final scene feel like an ending?
- ✓Does the video finish at the right point in the song?
Then combine the completed clips and export the finished video.
Create more than one asset from the same song
A finished music video should not have to become only one upload.
For example, one 3-minute YouTube video can also become:
- →Asset 1: Full 16:9 YouTube music video
- →Asset 2: 20-second vertical chorus teaser
- →Asset 3: 15-second TikTok hook
- →Asset 4: Vertical performance clip
- →Asset 5: Release-day social post
- →Asset 6: Short lyric clip
This makes the production work much more valuable because one visual concept can support an entire release campaign.
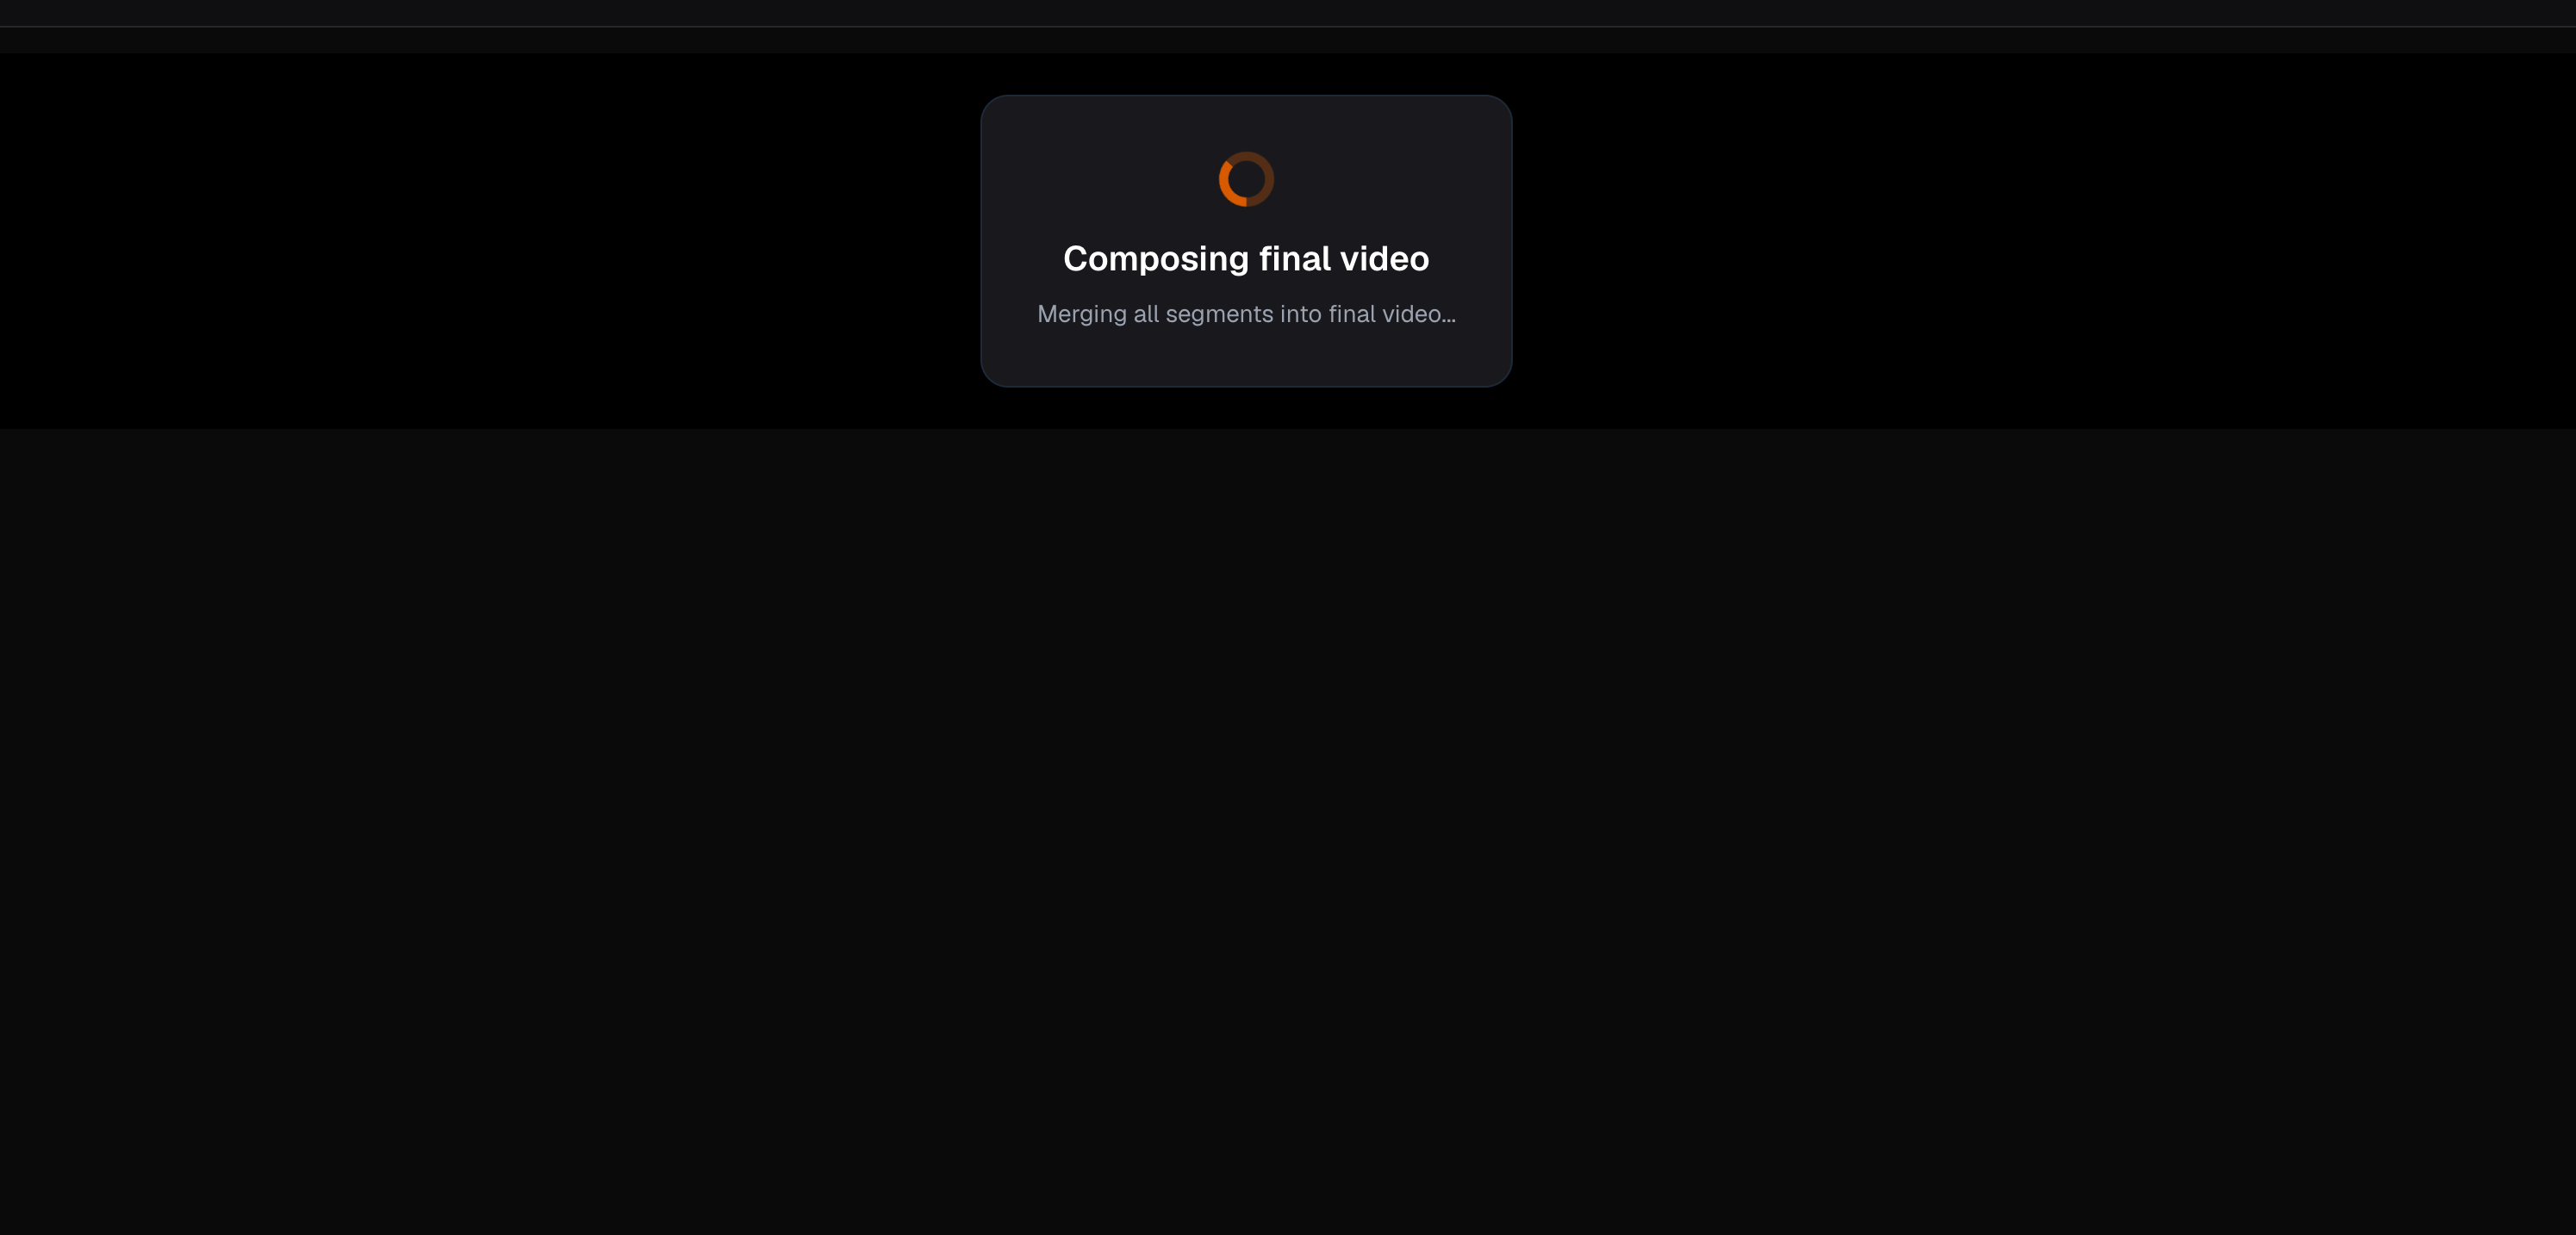
Ready to make your own music video?
If you already have a finished song, you can use BeatViz Workflow to move from music analysis to visual concepts, story scenes, first frames, video generation, review, and final export through one guided process.
Unlike Chat Mode, where you continuously collaborate with an AI director, or Editor Mode, where you manually build the project on a timeline, Workflow gives you a visible production pipeline with review points at every important stage.
AI handles analysis and generation.
You control the direction and quality.
Start with your song → Build your music video with BeatViz Workflow.
Start Creating →A Complete Music Video Example
Here is what the entire process might look like for a fictional release.
Song
- Title: After Midnight
- Genre: Alternative pop
- Length: 2:48
- Mood: Lonely, nostalgic, gradually hopeful
- Target: Full YouTube music video
- Ratio: 16:9
Creative Direction
A young female singer travels alone through a nearly empty city after midnight. At first, the city feels cold and abandoned. As the chorus grows, small signs of life begin appearing — lights turn on, rain stops, and the streets slowly transform. During the final chorus, she reaches a rooftop at sunrise.
Visual style:
- •Cinematic realism
- •Soft film grain
- •Blue nighttime palette
- •Warm orange sunrise for the ending
- •Slow camera movement during verses
- •Wider and more dynamic shots during choruses
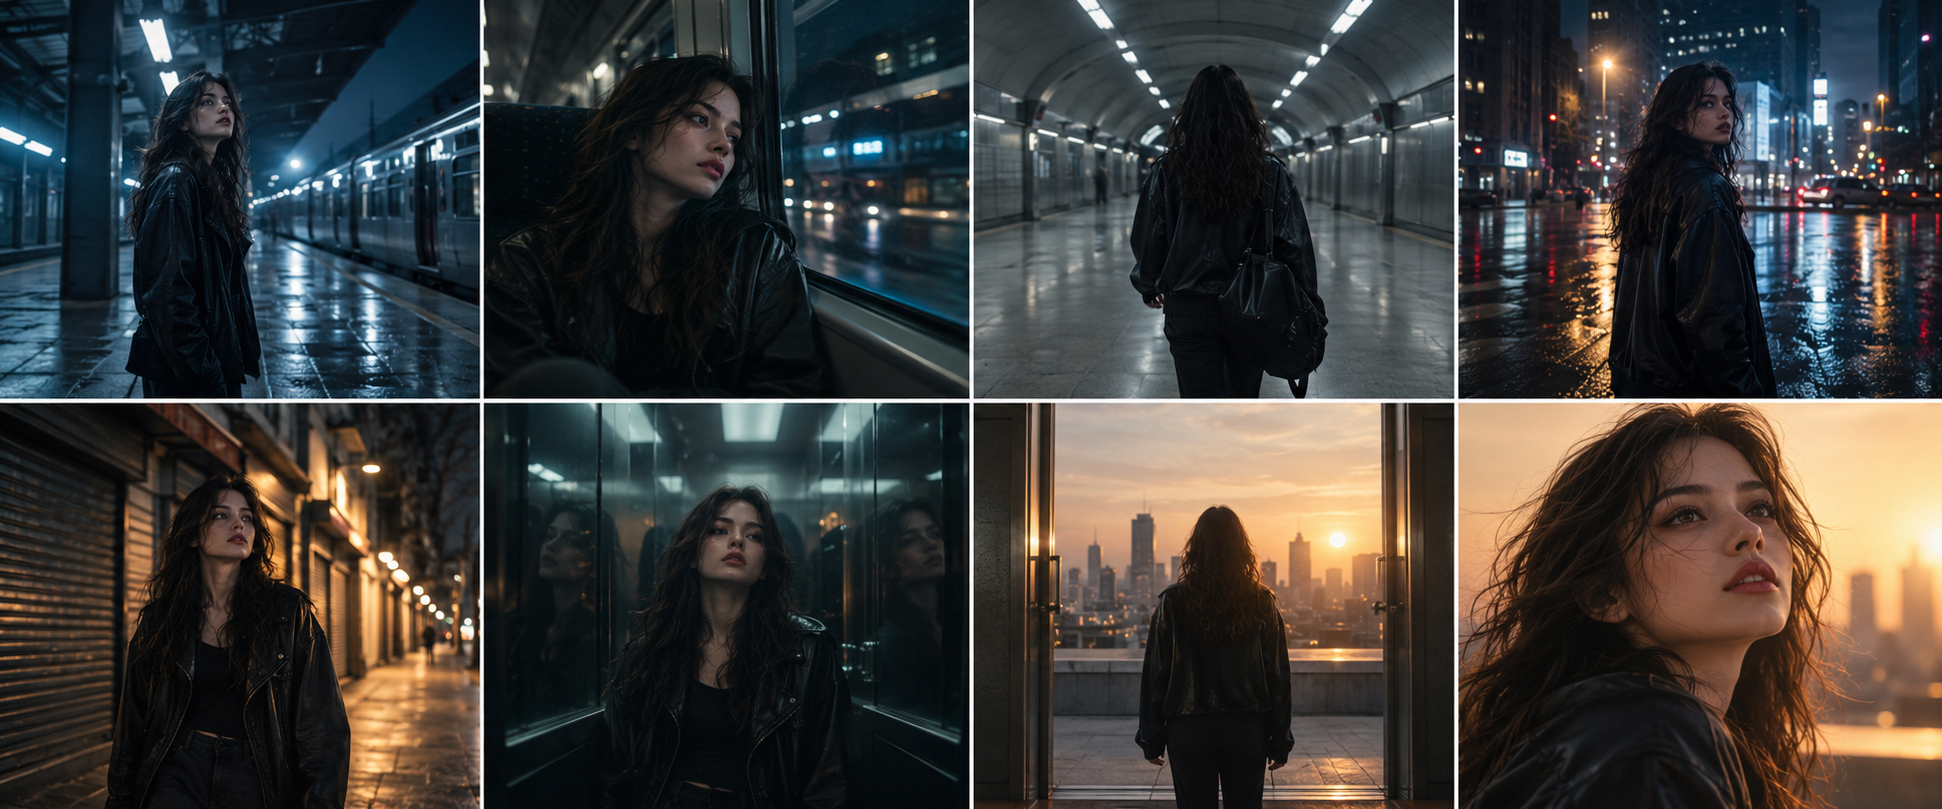
Intro
Visual: Empty train platform. The singer stands under a fluorescent light.
Camera: Very slow dolly-in.
Purpose: Establish loneliness without revealing too much immediately.
Verse 1
Visual: The singer sits alone inside a moving train.
Camera: Medium profile shot with reflections moving across the window.
Purpose: Introduce the character and maintain the restrained mood.
Pre-Chorus
Visual: She steps off the train into an empty station.
Camera: Tracking shot from behind.
Purpose: Begin increasing motion before the chorus.
Chorus
Visual: She emerges from the station into a large rain-covered intersection.
Camera: Wide shot followed by a slow orbit.
Purpose: Make the visual world suddenly feel larger.
Verse 2
Visual: She walks past closed storefronts while lights gradually switch on behind her.
Purpose: Show progression instead of simply repeating Verse 1.
Bridge
Visual: She enters an elevator. The lights flicker and the walls briefly reflect different memories from earlier scenes.
Purpose: Introduce one unexpected visual idea before the climax.
Final Chorus
Visual: Elevator doors open onto a rooftop instead of another floor. Sunrise fills the skyline.
Camera: Wide crane shot pulling away from the singer.
Purpose: Deliver the largest visual moment of the video.
Outro
Visual: Close-up. She looks toward the sunrise before the screen fades out.
This example uses several different locations, but they all belong to the same visual world and follow the emotional progression of the song.
That is usually more effective than asking AI to generate a completely unrelated spectacle for every eight seconds of music.
Common Mistakes When Making a Music Video
Generating Before You Have a Concept
Do not start generating dozens of clips before deciding what the video is actually about. A clear visual direction makes every later decision easier.
Making Every Scene Completely Different
Variety is good. Randomness is not. Change the location, camera, action, or lighting while keeping enough visual elements consistent to make the scenes feel related.
Ignoring the First Frame
For image-to-video workflows, the first frame is one of your strongest controls over the final result. Fix character identity, composition, clothing, and location before spending Credits generating motion.
Giving the AI Too Many Actions
Complex prompts often become less predictable. Prefer one primary action and one camera movement per shot.
Instead of:
The singer runs, jumps, spins, sings, looks backward and the camera rapidly circles around her.
Use:
The singer walks through the crowd while singing. The camera slowly tracks backward in front of her.
Using a Different Character Reference for Every Scene
If consistency matters, keep your main character definition stable. Changing reference images, hairstyles, outfits, ages, or descriptions unnecessarily can make identity drift worse.
Making Every Shot a Close-Up
Music videos need visual rhythm. Mix establishing shots, wide shots, medium shots, close-ups, detail shots, and environmental cutaways. Close-ups become more powerful when they contrast with wider compositions.
Regenerating the Entire Project Because of One Bad Clip
AI generation naturally involves iteration. The important thing is to isolate the problem. If the story works but one clip fails, regenerate the clip. If the motion fails but the composition works, keep the first frame and try a simpler video prompt. If the first frame is wrong, fix the image before generating another video.
Choosing the Wrong Aspect Ratio Too Late
Decide whether the project is primarily for YouTube or vertical social platforms before you start composing important shots. A wide cinematic composition may lose the subject completely when cropped vertically.
FAQ
How do you make a music video?
Start with a finished song, identify its important musical sections, choose a visual concept, plan scenes around those sections, create or film the shots, review the edit with the music, fix weak scenes, and export the final video for your target platform. Today, this can be done through traditional filming, AI generation, or a combination of both.
How can I make a music video without filming?
You can create a music video using AI-generated images and video clips instead of recording live footage. A music-first platform such as BeatViz can analyze your track, develop visual concepts and scenes, generate first frames and video clips, and assemble them into a complete project.
Can I make a music video without editing experience?
Yes. Traditional timeline editing gives you the greatest control, but guided AI workflows reduce the amount of manual editing required. BeatViz Workflow, for example, divides the project into stages so you can review the concept, story, scenes, first frames, and video clips without manually constructing the entire timeline from scratch.
How long does it take to make a music video?
It depends on the method. A traditional production may require pre-production, shooting, editing, color grading, and revisions. An AI-assisted workflow can remove much of the filming process, although you should still spend time reviewing and regenerating weak scenes. The biggest time difference comes from planning well before generation.
How much does it cost to make a music video?
Traditional music-video budgets can vary dramatically depending on crew, locations, actors, equipment, visual effects, and post-production. AI workflows replace many of those production costs with generation costs. If the platform uses Credits, reviewing your concept and first frames before generating video is one of the easiest ways to control spending.
What makes a good music video?
A good music video does not simply contain attractive shots. Its visuals support the song. Look for a clear visual identity, strong opening imagery, character or style consistency, visual changes that follow the music, deliberate framing and camera movement, a memorable chorus or climax, and an ending that feels intentional.
Do I need a storyboard to make a music video?
You do not need a professional hand-drawn storyboard, but you should know what happens from one section to the next. Even a simple scene list such as intro → verse → chorus → verse → bridge → final chorus makes the production much easier to control.
Can AI create a full music video from a song?
Yes. AI tools can now help with music analysis, concepts, story planning, image generation, video generation, lip sync, and scene assembly. However, the strongest results still involve human review. AI can create the options, but you should decide which visual direction fits the song and which scenes are good enough to keep.
Should I make a 16:9 or 9:16 music video?
Use 16:9 when your main release is a traditional YouTube music video. Use 9:16 for TikTok, Instagram Reels, and YouTube Shorts. For a full release campaign, creating both a horizontal master video and several vertical promotional clips is usually more useful than relying on one format.
What is the difference between BeatViz Workflow, Chat, and Editor?
Workflow is designed for fast, guided music-video production. You move through visible stages while AI handles music analysis and generation and you approve the important creative decisions. Chat works more like collaborating with an AI director. You describe what you want and continue refining the project through conversation. Editor gives you more manual control through a timeline-based editing environment. For creators who want to go from a finished song to a complete MV without manually managing every clip on a timeline, Workflow is usually the most straightforward place to start.
What should I do if an AI-generated scene looks wrong?
First determine which part is wrong. If the character or composition is wrong, fix or regenerate the first frame. If the motion is wrong, simplify the video prompt and regenerate that clip. If the scene itself does not fit the story, rewrite that section. If the rest of the music video already works, avoid regenerating everything. Fix only the weak scene whenever possible.
A music video does not need the biggest budget, the most locations, or the most complicated visual effects to work.
It needs a clear idea.
Start with the song. Decide what world the song belongs in. Build scenes that follow its emotional structure. Review the important visual decisions before generating the expensive parts, and improve weak shots one at a time.
That is the difference between generating a collection of AI clips and actually making a music video.
Ready to Create Your Music Video?
Start with your song and build a complete music video with BeatViz Workflow.
Start Creating →